A Quick Guide to Dressing Like a Man in Bali

Sarong Series Number 3: Some thoughts on gender, the body, and the universe (and sarongs).

Dressing like a man feels like winging it every time; I am not a man. I don’t have a detailed physical routine around wearing a sarong like a man. I have no reliable physical habits that direct my hands this way and then that, hold here with the left, turn at the waist slightly, pull with the right, wrap, fold, hold, accordion, roll; I have not wrapped my sarong like a man enough times for it to feel natural. My understanding is visual, conceptual, not tactile and physical.

In this series of photographs I am demonstrating how to wrap a sarong like a man. The photographs do not have the same finely detailed, step-by-step character as my Anatomy of Ceremony Clothes description. Maybe this is partly because I don’t have the same granular sensitivity to operations. There are things I’m missing – exactly how much overlap over the belly, how precisely to engineer the folds in the center front.  What are all those subtle hand movements that make it work just right so it looks right and feels right and stays together even while doing men’s work all day, every day.

Hands on hips: angry stance in a Balinese grammar of body-language.

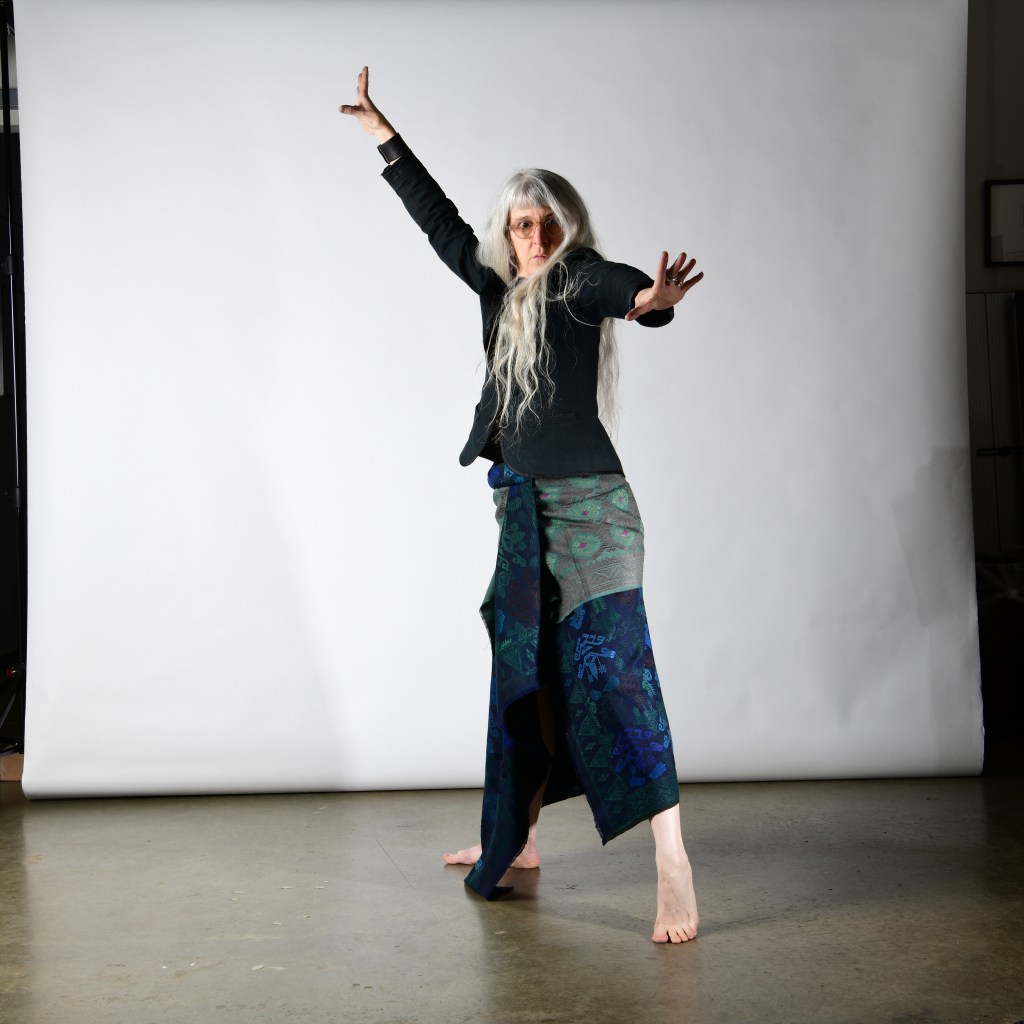
We did the men’s sarong images after the women’s sarong-wrapping instruction (see previous post for more description of the photoshoot). Chris was still directing and he asked me to put my hands on my hips. I did and mentioned that arms akimbo means anger in a Balinese grammar of body language. That surprised him and he commented. He asked me to take another attitude. I corrected again, saying no, I can’t do that. It’s not male. He asked what is male? So I described the gender of attitude and demonstrated dance positions – male, female, banci (androgyne) as a quick shortcut to the difference in how a woman stands versus a man. I took a strong, male dance position – opened my eyes wide until the whites showed (fierce), did a deep sort of plie with my legs wide, arms spread, fingers spread. Then I stopped dancing and just squatted in the relaxed position of a man, knees wide, arms outstretched, elbows on my knees. This is the position of men resting, or waiting by the side of a road or path for nothing in particular, or watching other men harass their roosters to prepare them for a mock cock fight.

Igel muani keras – Strong male dance position.
Bengong – staring into space in a resting (men’s) squat.

Men’s sarongs wrap in the opposite direction from women’s. Women’s sarongs wrap from right to left, the sarong finishing with the left covering the right; men’s sarongs wrap from left to right, the sarong finishing with the right covering the left. This simple oppositional organization of fabric is part of a gendered logic that pervades Balinese cosmology, starting with the human body, which is conceptualized as a small homologue to the universe.

In a Balinese worldview (epistemology), gender is a way of describing just about everything and the relationships between types of things or processes. This is how symbolism works – certain categories of things or people are granted a value or an identity that is meaningful within a universe of other values. To begin to map this out, imagine the body oriented in space, standing facing north. The sun rises on the right hand and sets on the left. The east where the sun rises is male, as is the sun; the right hand, the sweet hand, is male. The west where the sun sets is female, as is the moon; the left hand, the dirty hand, is female. North and east are male (and one should always orient the head of a bed so it faces north or east according to a Balinese version of feng shui), the south and west are female. Magic is right-handed (benevolent and male) and left-handed (malevolent and female). The right hand is social. To rest the right hand in the left is to make a polite request. Babies are taught to ask for things in this way before they can speak. The left hand is intimate and private. To give someone something with your left hand, especially food, doesn’t just demonstrate intimacy; it creates intimacy. If the relationship is not an intimate one, then giving something with your left hand, especially food, creates hierarchy and would be an insult between status equals.

Humorally speaking, heat is male where coolness is female. Sky is male. Earth is female. Every plant, situation, object, activity and relationship can be broken down into gendered complementarities. Gender is a nuanced language for talking about relationships, interdependencies, the order of things. Nothing is complete without the combination, in some way however subtle, of these gendered aspects. Gender is generative.

Back to sarongs. I intend this document as a baseline, an instruction and also a kind of visual glossary of gendered categories that are embedded in the way people wear their clothes, and which repeat, like reverberations, like sound waves or the concentric circles of disruption that reveal the submergence of a stone. This water-reference is a cliché but it visualizes something that helps me to convey the expansive, encompassing aspect of the ideas that are relevant to sarong-wrapping (and everything else). With this in mind, I’m going to relate to you a folk story. The teller recorded, transcribed, and translated it from Balinese into Indonesian. I haven’t re-read it. I’m relying on my memory of the tale as that is how oral tradition works. It was told to me. I am telling it to you. You may ask yourself what this story, and the way I contextualize it, has to do with sarongs. The answer is – it has nothing to do with sarongs and it has everything to do with sarongs. I am going to say to you what authors sometimes say to their readers – just listen. Come with me.

In the story of Chandra[1], a commoner has abducted his high-born love-object in an attempt at marriage by capture (malagandang) but he doesn’t violate her.  He wants her to give herself to him. She tells him she will marry him, but only if he will climb a magnolia tree to get her the flower she points out in the tree’s crown. The Cempaka magnolia (Magnolia Champaka) is the most beautiful, with the most exquisite perfume, of the seven white, scented flowers used to infuse holy water. It is a small blossom – the petals roughly two inches long – for such a massive tree, that can grow to 160 feet tall with a trunk up to six feet in diameter. The tree in the story, of course, is one of such magnificent proportions.

Cempaka flowers are picked by men[2] who climb the trees in the early morning before the dawn coaxes the buds to open fully; in the dark, the Cempaka’s petals remain soft and straight, modestly concealing the flower’s sexual center instead of arcing back to reveal the stamens and pistil. The hopeful lover climbs the tree in the dark and calls down to Candra when he reaches one of the buds – this one? She says no, the one farther up. Can’t you see it through the branches? He climbs higher, again reaching a flower, again calling out – is it this one you want? No. It’s the one above that. Can’t you see it glowing white amidst the leaves? He climbs higher, every time calling out, every time told that the bloom Chandra wants is still above him. When he gets to the top of the tree without obtaining the particular flower his beloved wants, he looks up at the sky from the Cempaka tree’s topmost branches and suddenly realizes the glowing white, unopened bud he has been searching for is the moon he sees glowing out of the morning-dark. He understands, then, that she is utterly unobtainable; her very name – Chandra – means moon. In despair and shame, he throws himself from the top of the tree and dies. His body, then, begins to change and each part of it becomes a botanical element that sounds improvised in the words of an excellent story teller – his cheeks become the white flesh of the Durian fruit; his eyebrows transformed to become the perfect arc of the leaf of the Intaran tree (Azadirachta indica, also Neem); his fingernails now cloves of garlic; his teeth the seeds of the white pomegranate (delima); the whites of his eyes now tiny cakes of yeast; jasmine blossoms where his nostrils were; sweet spices – nutmeg, cinnamon, clove – replace pubic hair; Salak fruits for testicles; a long eggplant for a penis; Pepper vine for sinews; the blue water lily for the glance of his eyes; a coconut for a skull, the leaves of the water lily wrapped around it are where the membrane covering his brain used to be, the music of a palm frond left in place of the sound of his breath.

The botanical equivalents for the body – each body part proxied by a fruit, a flower, a seed, a leaf, a stalk, a root, fungus, mold, vine– are established in this story in a seeming improvisation.  Yet, these same botanical equivalents for the body are discoverable in the contents of two huge mortuary offerings in which every part of the small world (buana alit) of the human body is represented by its counterpart in the big world (buana agung) of the universe: from this we know there is a logic. These proxies are used to adorn a corpse when it is bathed and wrapped in meters of white fabric, doused repeatedly with holy water containing the seven scented blossoms, including the Cempaka.

So you see, the metamorphosis of the despair-inspired lover’s corpse is not only a story told late at night to entertain. It’s an inculcation that describes and teaches a critical act of transformation and un-making that must be performed for the dead, part of which involves assembling the offerings about which I am telling you, and which are later burned with the corpse during cremation.[3] After the burning, the body’s botanical proxies are used to adorn another proxy made of Chinese coins strung together to form a stick figure with all the fingers and toes articulated. The coins are laid on top of a reiteration of the body made of its vestiges. The bone fragments of the deceased are retrieved from the ash of cremation by hand, through sifting and searching for every discernible piece, placed in three shallow dishes made of leaves. In each dish are collected the bone-shards of the head, upper body, and lower body.  The ash-proxy’s head is made from head shards; the proxy upper body and arms from upper-body shards, the proxy lower body, legs, and feet from the lower-body shards.[4]

I did an interview once with a neighbor. It was a structured conversational interview – I had a set of questions I asked all of my interviewees, but the questions in between those questions were determined by the specifics of each conversation. Part of the interview asked the interviewee to draw a picture of the human body. My neighbor, whose name escapes me, was then in her forties. She was sitting on the floor, leaning against the wall, her legs straight out in front of her. I gave her the piece of paper and a pencil and asked her to draw the body. She held the pencil awkwardly and stared at the paper for what seemed to me like a long time. I think about it now and there were so many assumptions embedded in my request. I had a notion of an abstract body that could be separated from the specificity of particular bodies. I had a notion that this abstract body could be represented in a drawing. I started with an assumption that asking my interlocutors for such drawings would be a comprehensible request. I was starting with pictures from anatomies in my mind. I actually had no idea what my interlocutors were starting with. Of course I wanted to find out. The fact I handed my neighbor a piece of paper and a pencil suggests the body could be described in that way, with those tools. But why should it be? (I asked her later to draw the contents inside the body and again she paused before saying (roughly, in Indonesian of course) – well, I’ve never seen the inside of the body but I’ve cut pigs and I’m guessing what’s in pigs might be similar to what is in humans . . . Humbled again. Of course I have never seen the inside of the human body either.)

Then she looked up at me and she began to pat her body – her chest, her lap, her legs, back to her chest – with both hands as she asked me – you mean this? You mean me? So (going with whatever she was thinking) I said yes. And she began to draw. She pressed hard on the paper with the pencil to make her lines thick and dark and drew a stick figure with intense focus I didn’t understand at the time. To me it seemed strange she would work so hard on such a simple figure.  She narrated as she drew – this is me after I have died, after I have burned. A man from my family will make this for me . . . then if it has been done correctly, some time later, one of my sons will dream I have come to the gate of the compound, then entered the yard and asked for food (minta nasi, literally request rice, the word rice being a gloss for food generally). If/when this happens, they will know that the next child born in the house will be me; I will have returned.

At the time I didn’t understand what my neighbor was telling me. I was trying to make sense of it on the hoof – watching, listening – but it didn’t make sense. It was only later, I don’t remember how much later, that I realized she was talking about her own cremation and the final reiteration of her body after her corpse was finished burning, using her bones and ash arranged on a white cloth, then overlain with the coin proxy and adorned with the botanical proxies, doused in holy water, bundled up with a small inscribed shroud, placed in a miniature replica of a cremation tower, something like a sedan chair for bones and ash, and taken on its last physical journey to the ocean for the final dis-integration – water to water. My neighbor’s rhetorical move is fascinating to me. The abstract, generalizable human body I asked her about becomes her specific body. She drew a self-portrait, but not of her living self. She drew a self-portrait in ash.

I only know a small percentage of the botanical elements that correspond to the body; probably only the eldest and most skilled ritual offering specialists have memorized the contents of the most complex mortuary offerings and know what all of the possible proxies are. Sometimes a particular ingredient isn’t available so she has to know what else can stand for the veins or whatever. I watched an offering specialist call for the frond of a particular species of palm that proxies the ribs and no one could find one quickly so she instructed her assistant to go to the nearest metalsmith (there were many in that village) and request a tiny proxy in metal of the ribs curving out from the spinal column.

I couldn’t see the landscape the same again after that. Intaran leaves on the ground around the tree are perfect eyebrows. That particular palm that makes a quiet tuned percussion with its leaves is the ribs and their flexing with breath. The blue water lily is the glance of the eyes. That is how the anatomies called Tatwa Wit – Root Teaching – begin: the blue water lily is the glance of lovers’ eyes.

I first worked on a series of Tatwa Wit with two, later three, teachers, all high-caste men in their 60s who read, translated, and wrote palm leaf manuscripts in Old Javanese, which can perhaps be compared to reading, translating, and writing in Latin. The Tatwa Wit’s Western correlative texts are anatomies, with their meticulous visual deliberation on the particularities of the body and their representation. Considering Tatwa Wit alongside Western anatomies I was (and am still) struck by the disembodied, unlocated nature of Western anatomic representations of the body. The flayed and splayed bodies in our anatomies are chronicles of dissection. These disembodied bodies are particular but not specific, an additive model that begins with an armature, the skeleton, and builds the body layer by layer. The (Western) anatomy I have adds these systems, roughly, in the reverse order of the dissection that was the mode by which Western men came to understand the body and its ‘systems’ and then, perhaps, by order of perceived importance: the muscular system, nervous system, limbic system, parasympathetic system, orthosympathetic system, digestive system, respiratory system, circulatory system, lymphatic system, excretory system, and, finally, at the very end, the reproductive system. In the particular anatomy I am consulting, there are two headings below “Reproduction” – Man and Woman and The Male Reproductive System. “The female reproductive system” is a sub-heading under “the male reproductive system.” The very last discussion in the book is “Insemination, pregnancy and nursing.” Anatomies are maps of power. The conceit is that authoritative texts are simply true. Embedded dynamics of power, gender, and race are effaced and implicitly these documents purport there is no culture; there is only nature. I don’t accept that. You probably know that about me already.

Tatwa Wit anatomies start with the desire of lovers.

Sex is the foundational productive act/relationship that launches the continual, transformative process of making and unmaking that is the body over the course of a life and into death.

This is a tough part to write because what I am writing seems so obvious.  Sex makes new bodies. But I’m writing about anatomies. And there is a contrast between indigenous Balinese anatomies (Tatwa Wit) and the Western anatomies I grew up looking at, which depicted White, adult, male bodies as the exemplary representations of human contents and characteristics. The body was a fully-formed (male) body in stasis, perpetually flayed, taken apart, every functional aspect already disarticulated from every other – what the Balinese do through mortuary at the end of life.  Western anatomies, within this framework, are snapshots of corpses. not representations of living bodies in flux. And, indeed, we know it’s true that they are snapshots of corpses.

The originary combinatory impulse is initiated by the glance of would-be lovers. Their first insubstantial exchange of emotion, legible in a look, leads to a feeling. Their hearts beat faster, their breaths become shallow, their ears ring, the world constricts. They have sex. In the terms of the Tatwa Wit, their souls meet, their bodies meet and then their procreative fluids (kama putih and kama bang, literally white desire and red desire) meet to form an embryo the word for which (ajur mula) means molten metal, the creation of an alloy of white (male) and red (female) to form the body of a child. The fetal body develops out of an ongoing combination of gendered fluids mixing in a woman’s body over the months of a pregnancy. Old people admonish young couples to have regular sex during a woman’s pregnancy so the child will develop fully with no deficits; they clarify that sex is the work of marriage.  In this way, new bodies are made through sex, made of sex. Sex is the responsible creative act that brings bodies into being through their complementary contributions.

It’s gendered turtles all the way down.[5] Every productive process or relationship references sex, viewed most simply as the combination of male and female (androgynes are not the absence of gendered relationships but their combination in one body instead of two).

Sarongs are no different; sarongs are located in this symbolic scape. The way they wrap is not coincidence or random. It is determined by this cosmo-logic.

For men, the sarong is wrapped like this:

Image 1. You start the fabric at the center front or just to the right of the center front so it covers the genitals.

I’m not sure if the left hand position is correct or not. I did not watch adult men wrap their sarongs but my guess is that the left hand would start over the genitals.

Image 2. Wrap around the back, to the front again and accordion the remaining fabric to form a phallic drape down the center.

Arranging the phallic drape in the front.

Image 3. Over the sarong goes a shorter – in both width and depth – piece of fabric called a saput.  

Trying to organize the saput. I think you can tell I’m not used to this.

Images 4-6. A sash or leather belt secures the folds of the sarong and saput, which are then rolled down over the belt to hold all the layers in place at the waist.

Starting the belt.
Still working on the belt.
Rolling the sarong and saput down over the belt.

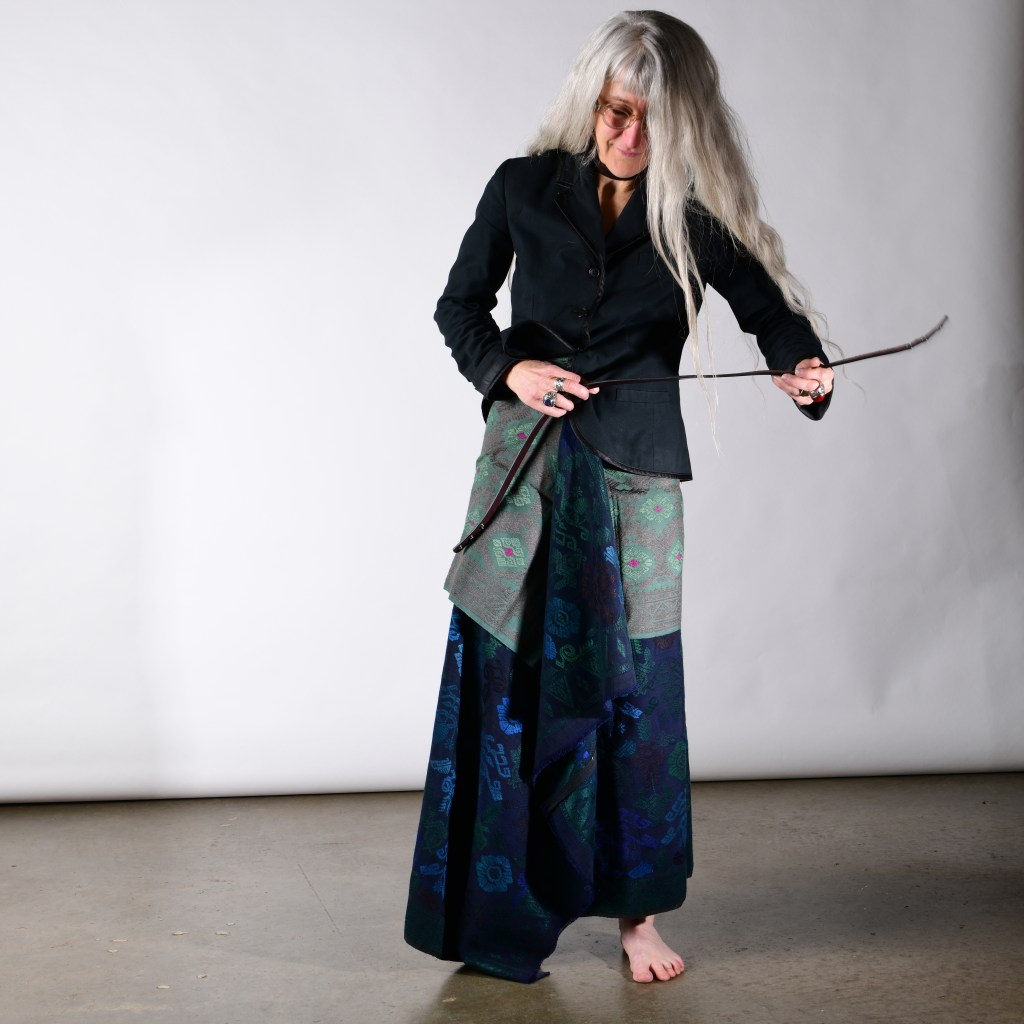
Image 6 (above)  In contemporary Balinese ceremony dress, men wear a kemeja, a simple button-down shirt with long or short sleeves. In these photos I wore a jacket rather than a kemeja. Historically, men wore no chest covering except in the temple or other context in which the most polite or reverent attitude was required, and then they wore the saput pulled up under the armpits and secured with a sash around the ribs (actually, I’m not sure if that’s correct. I don’t know if the fabric pulled up to cover the chest was also called a saput).

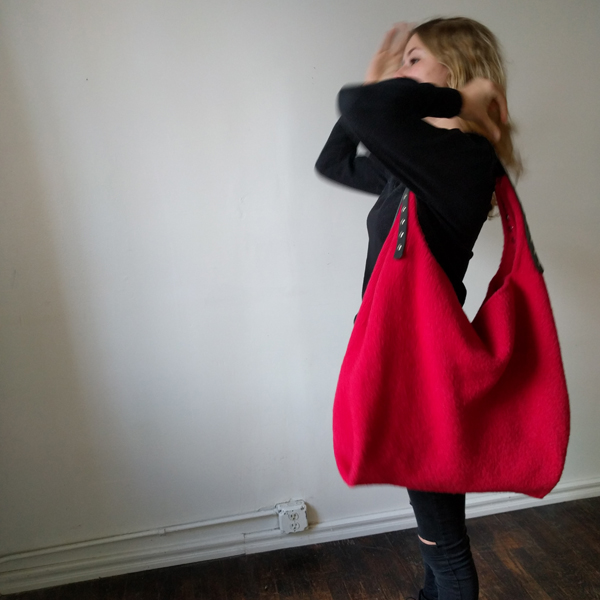
Image 7, I stand like a man.
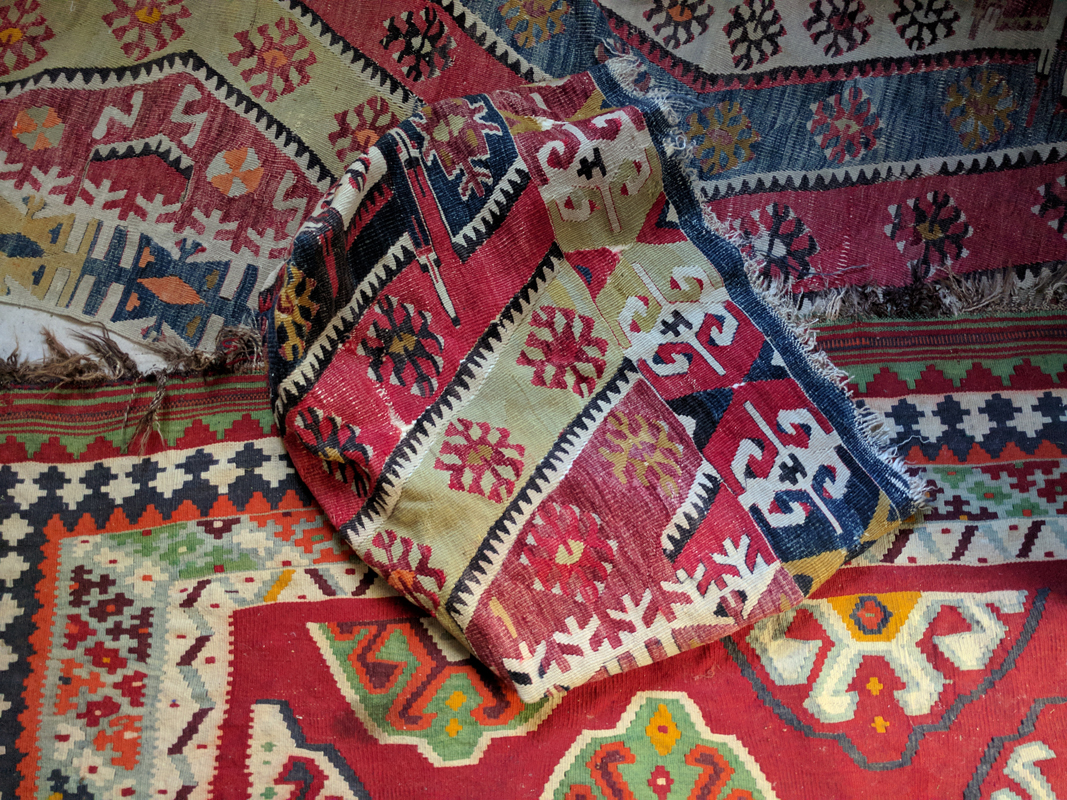
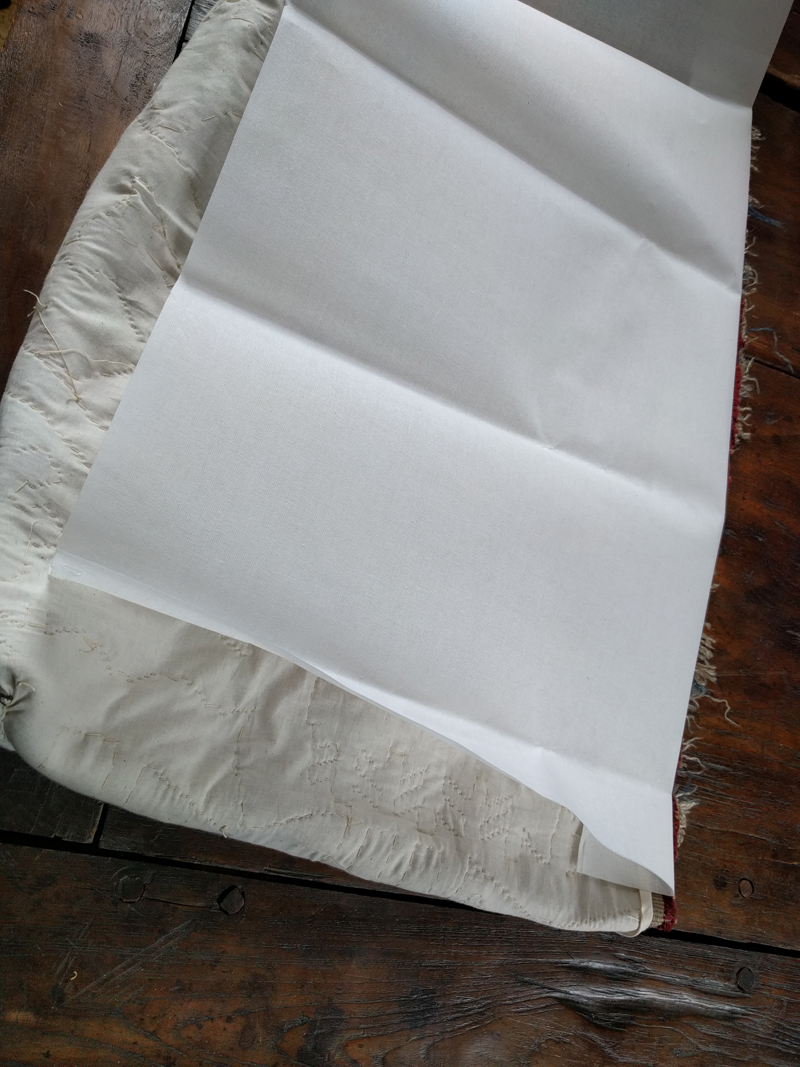
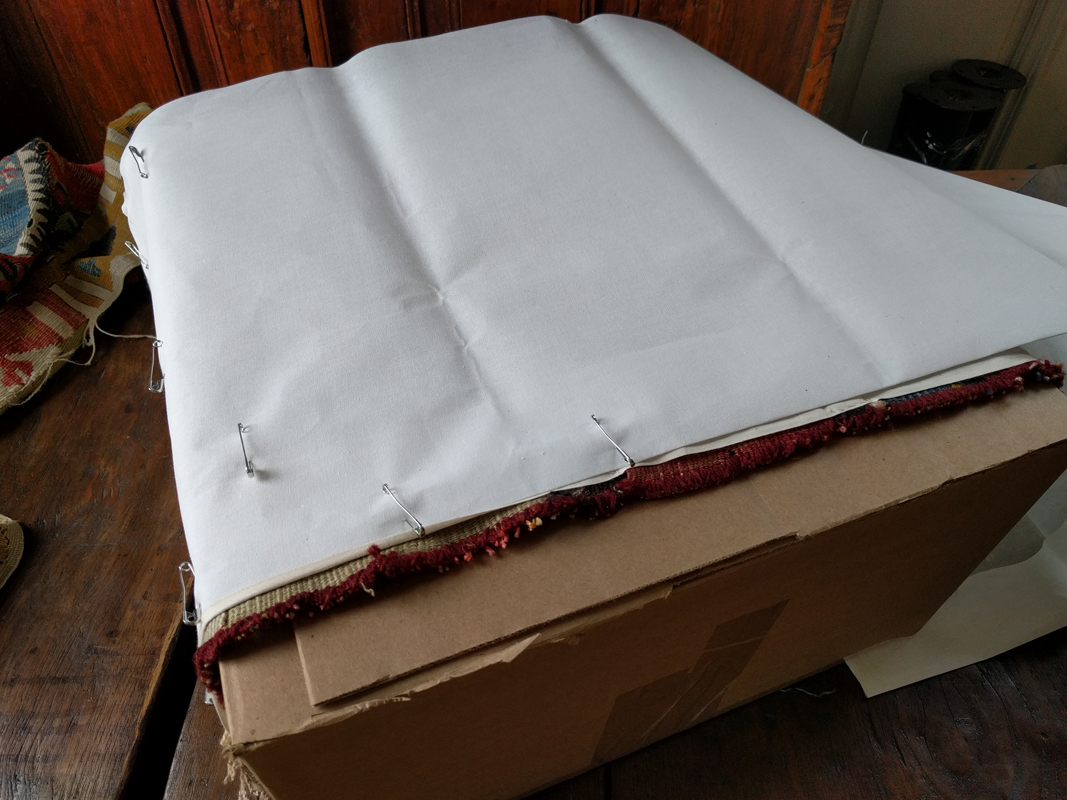
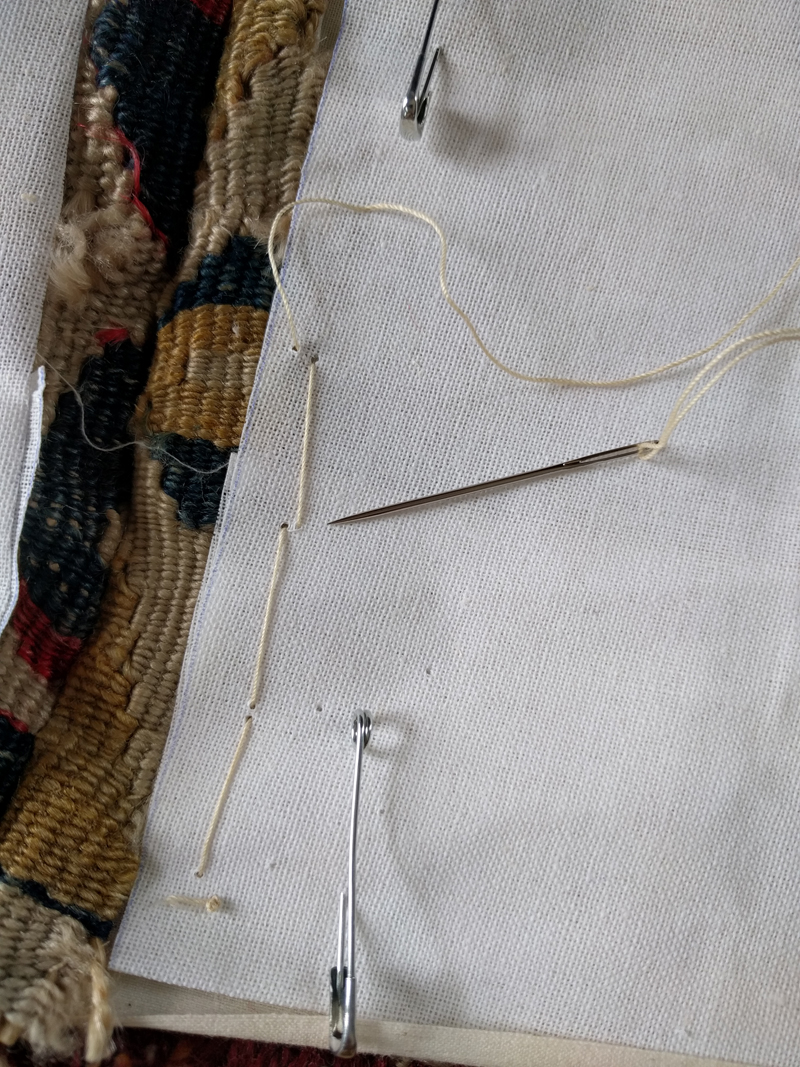
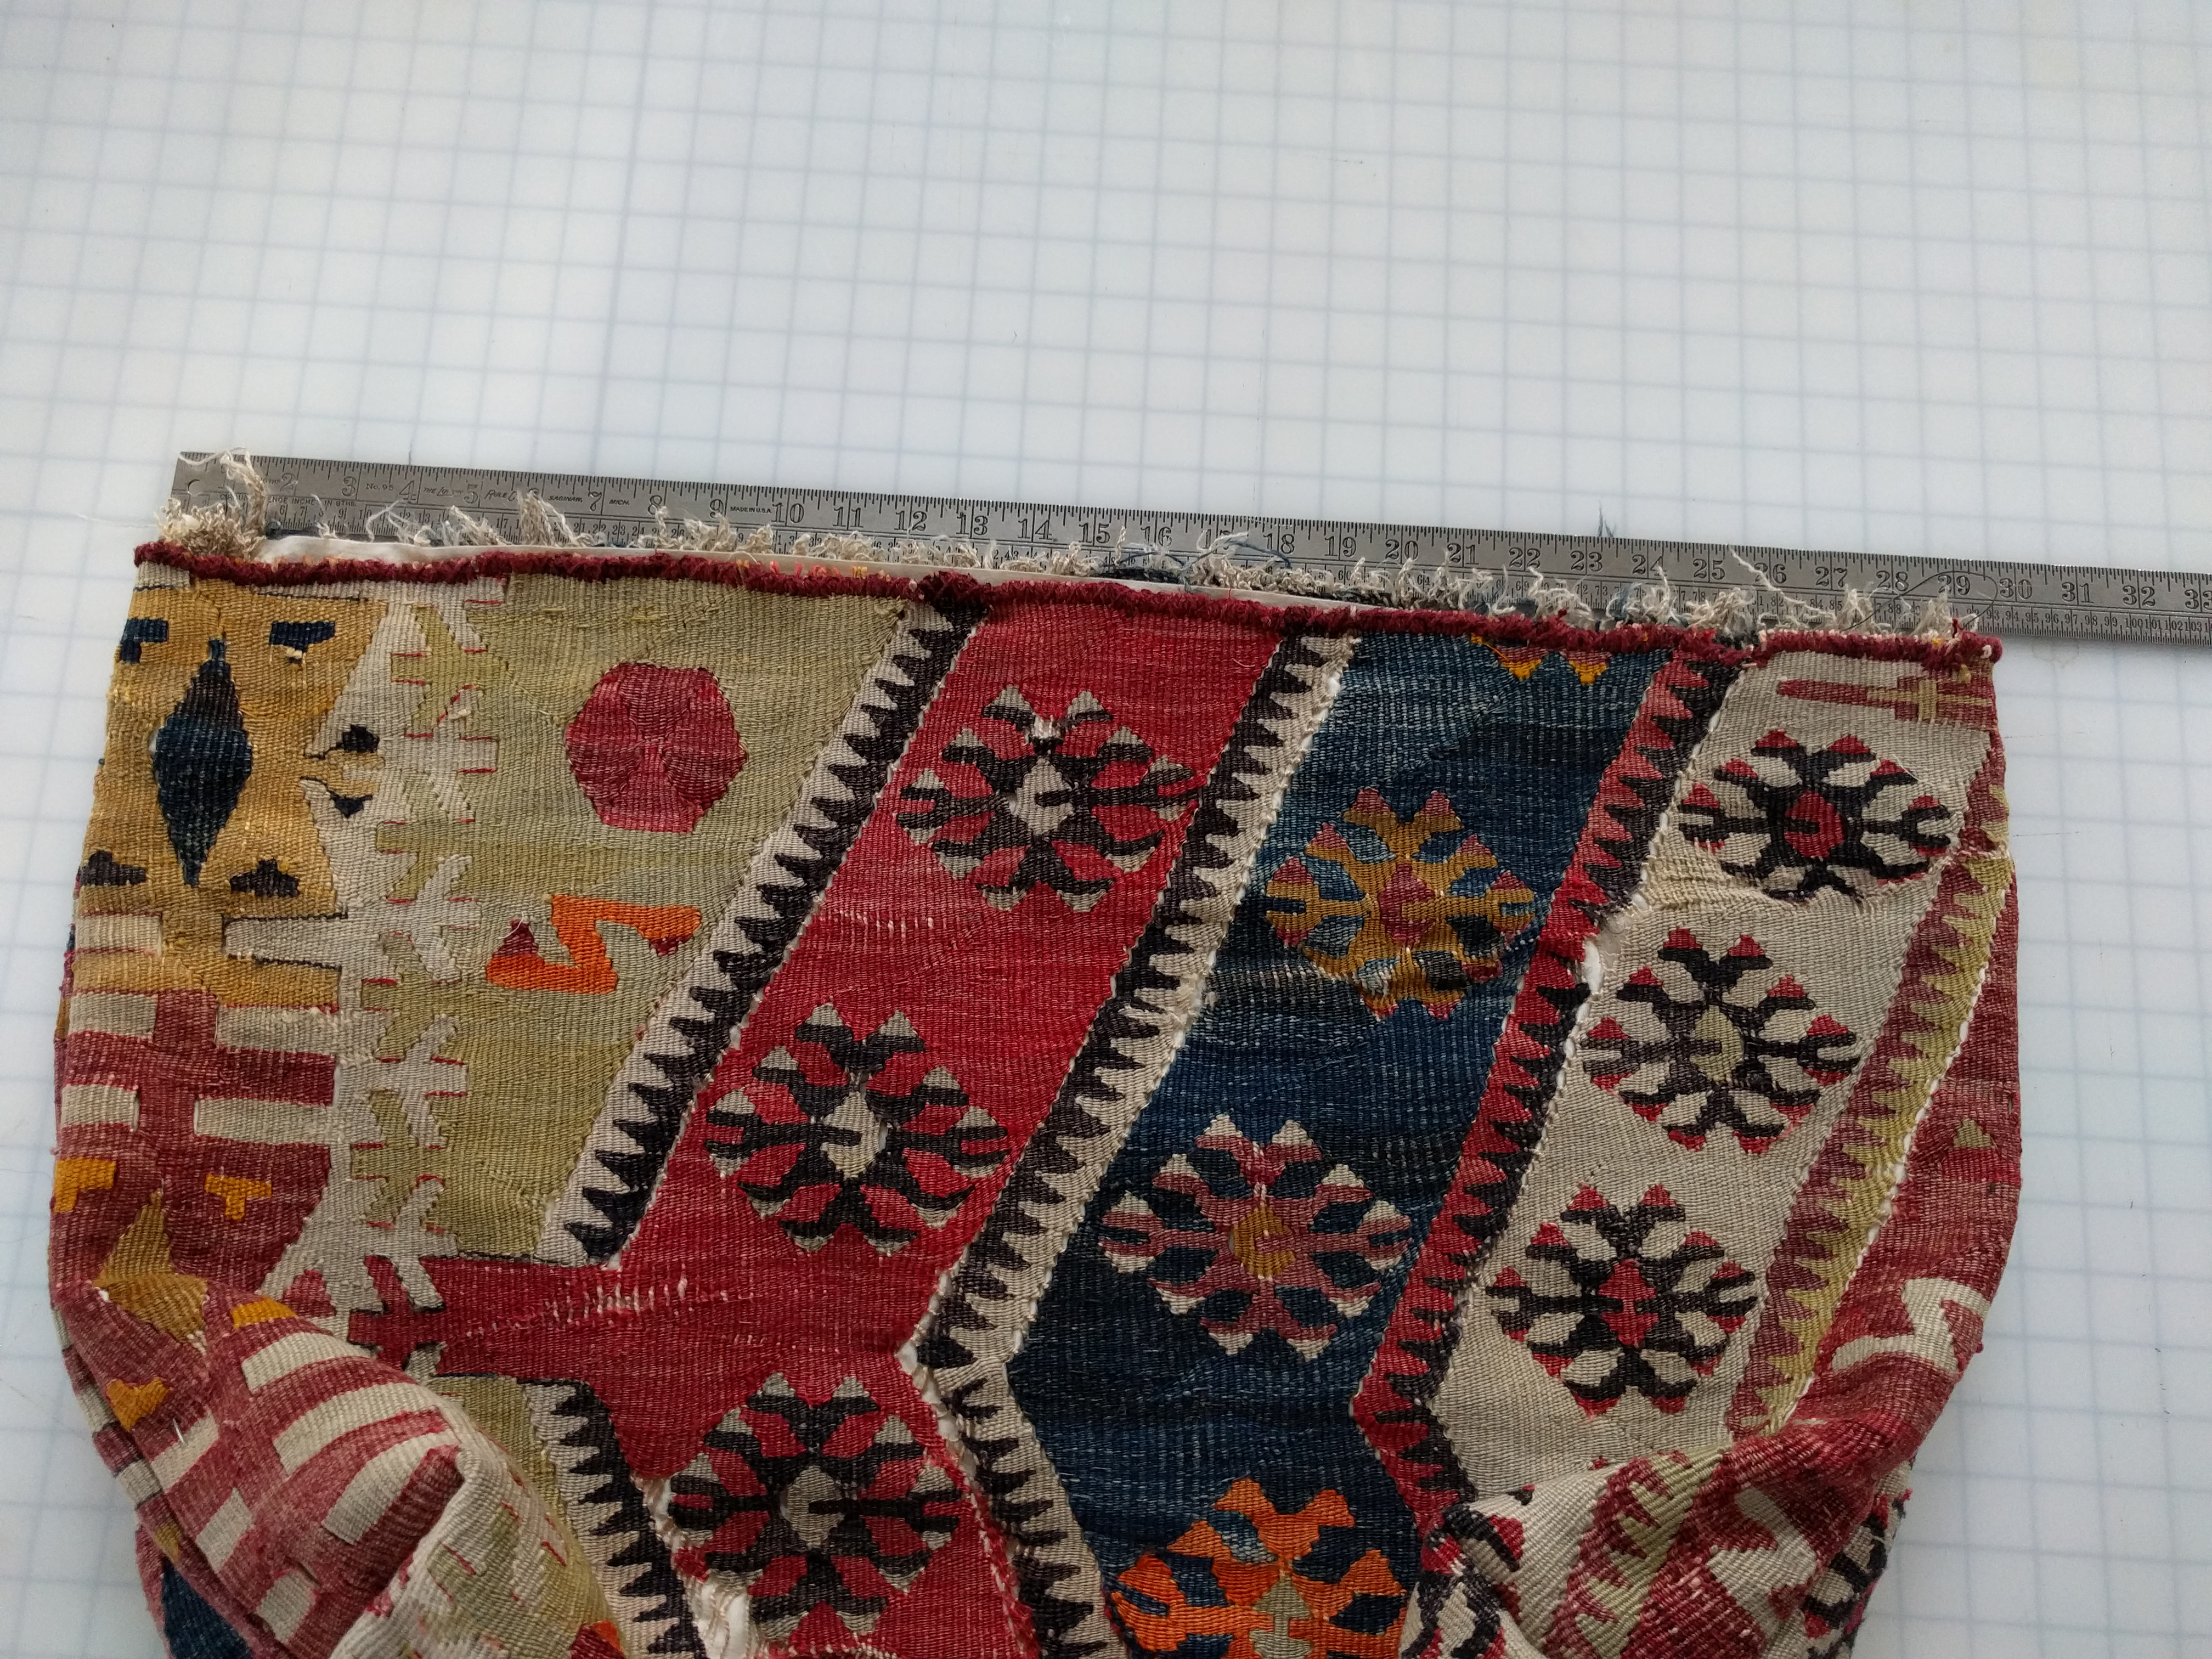
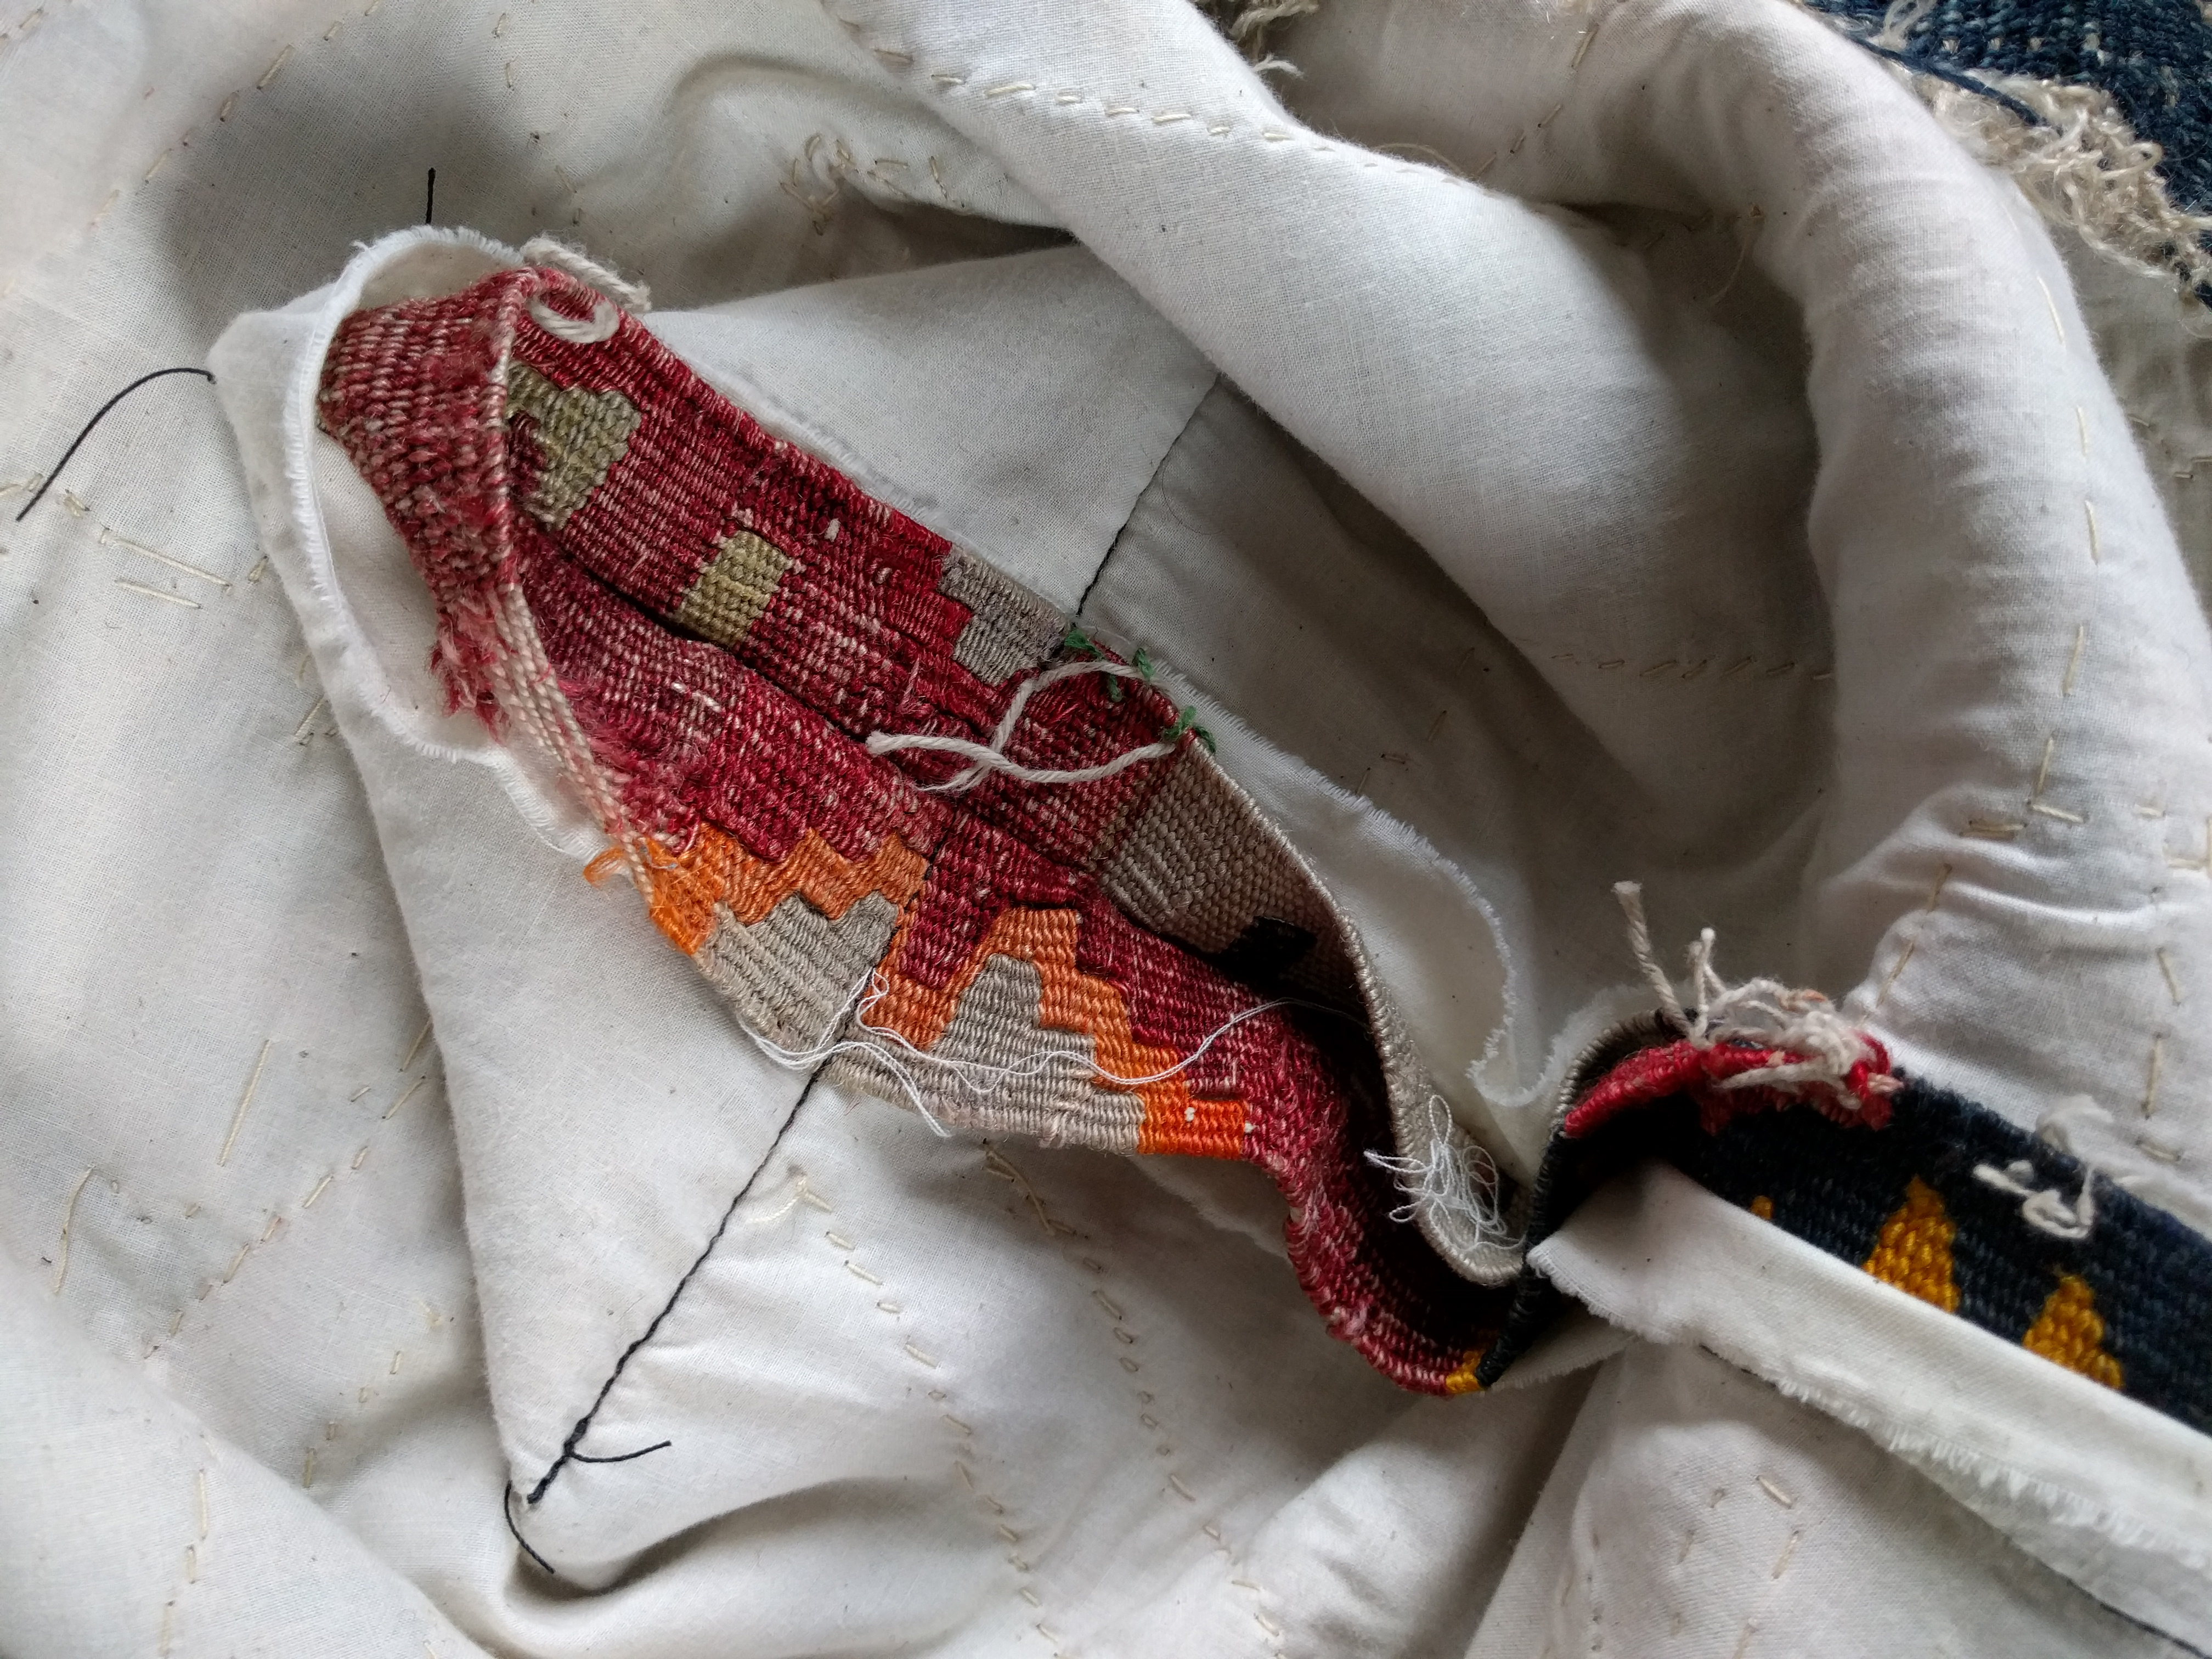
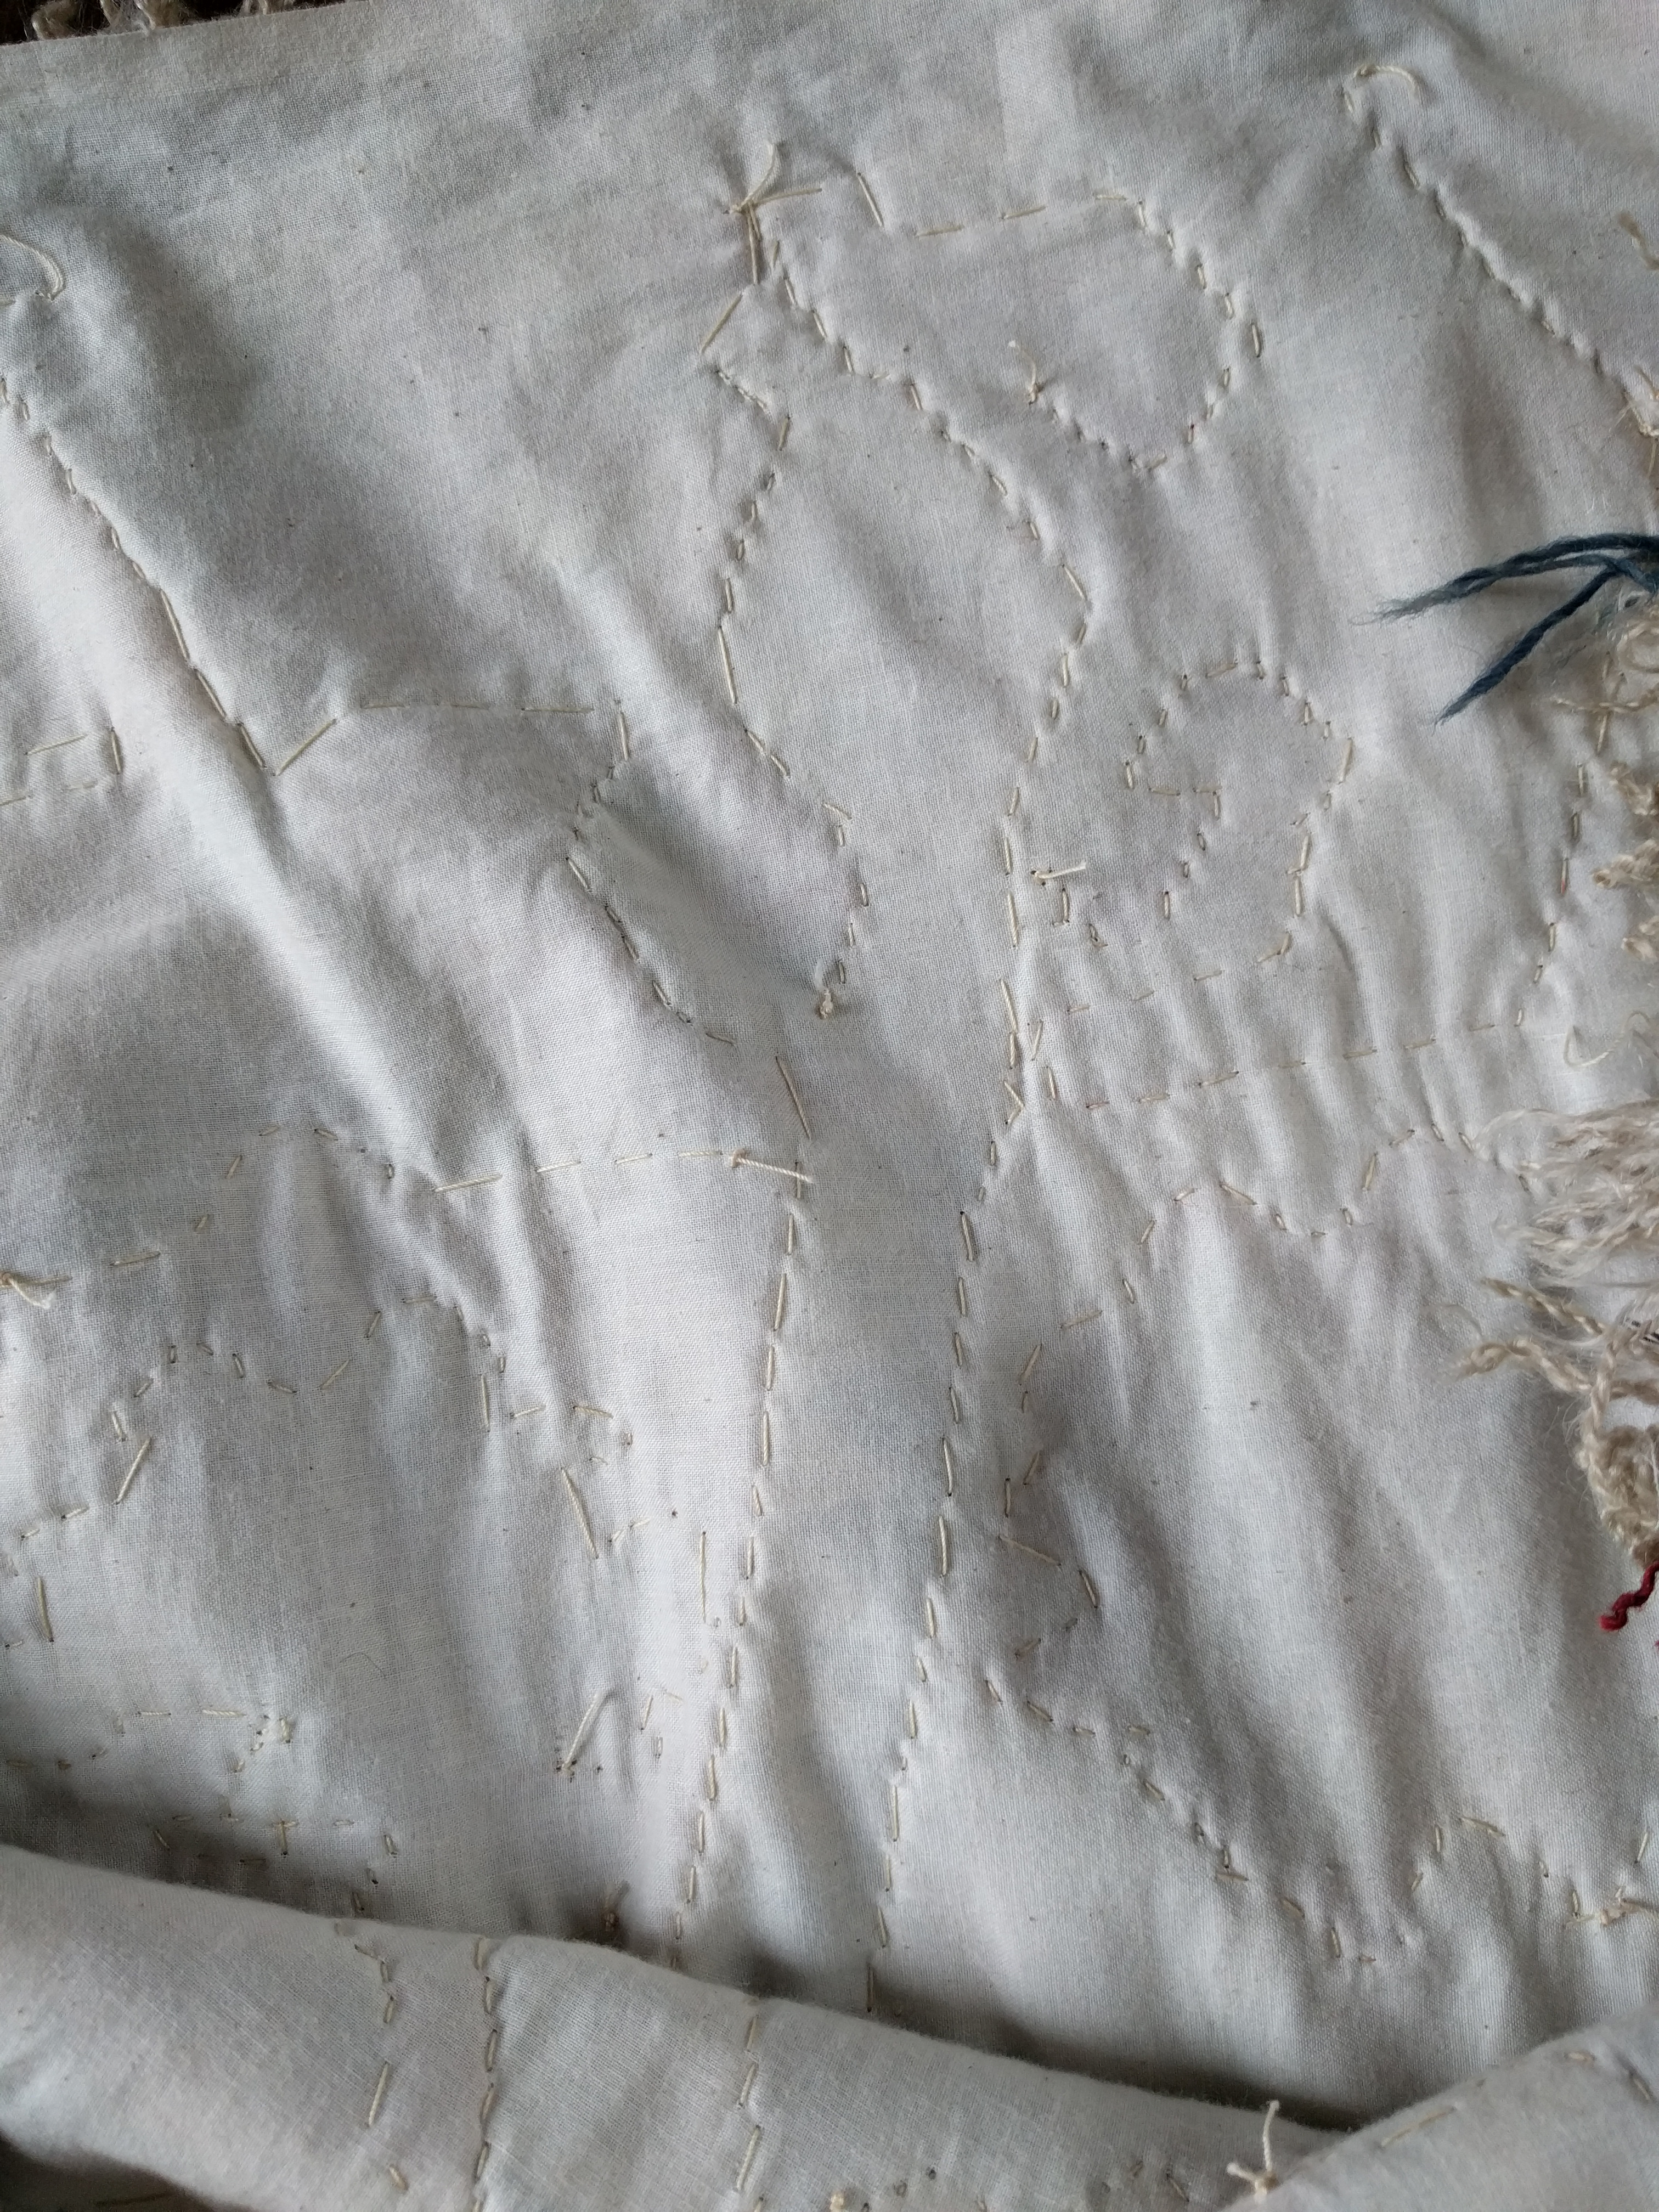
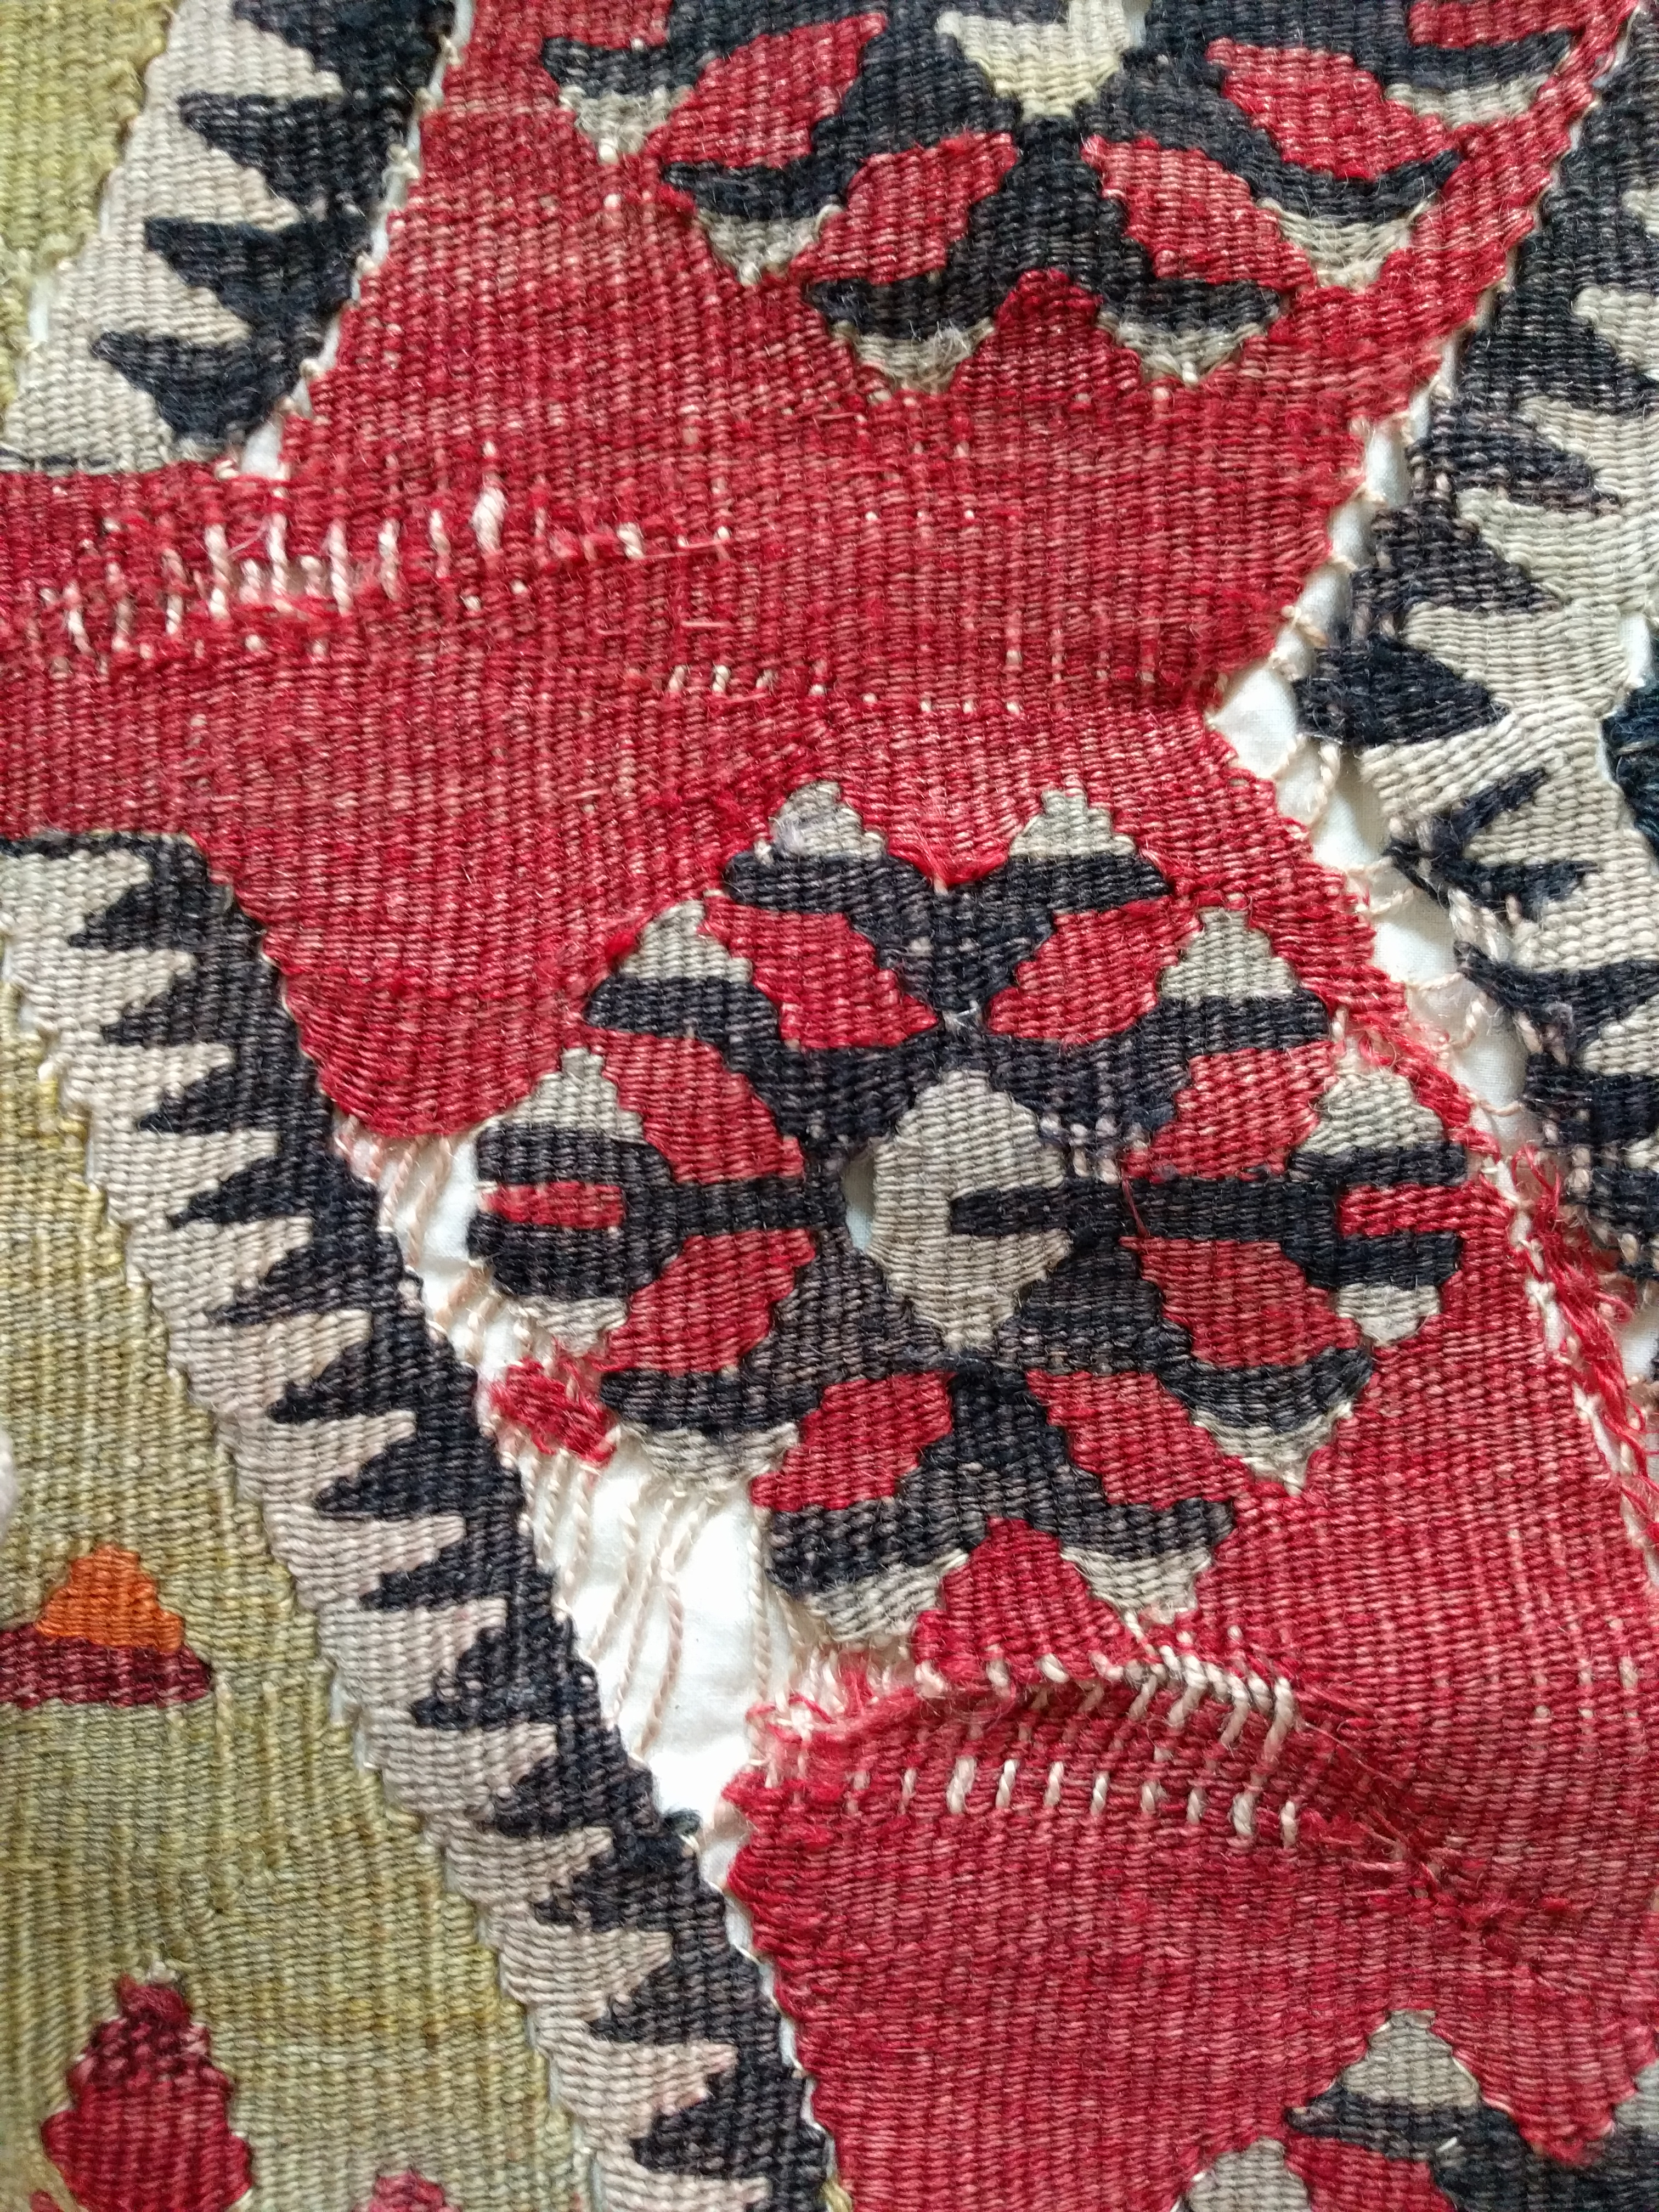
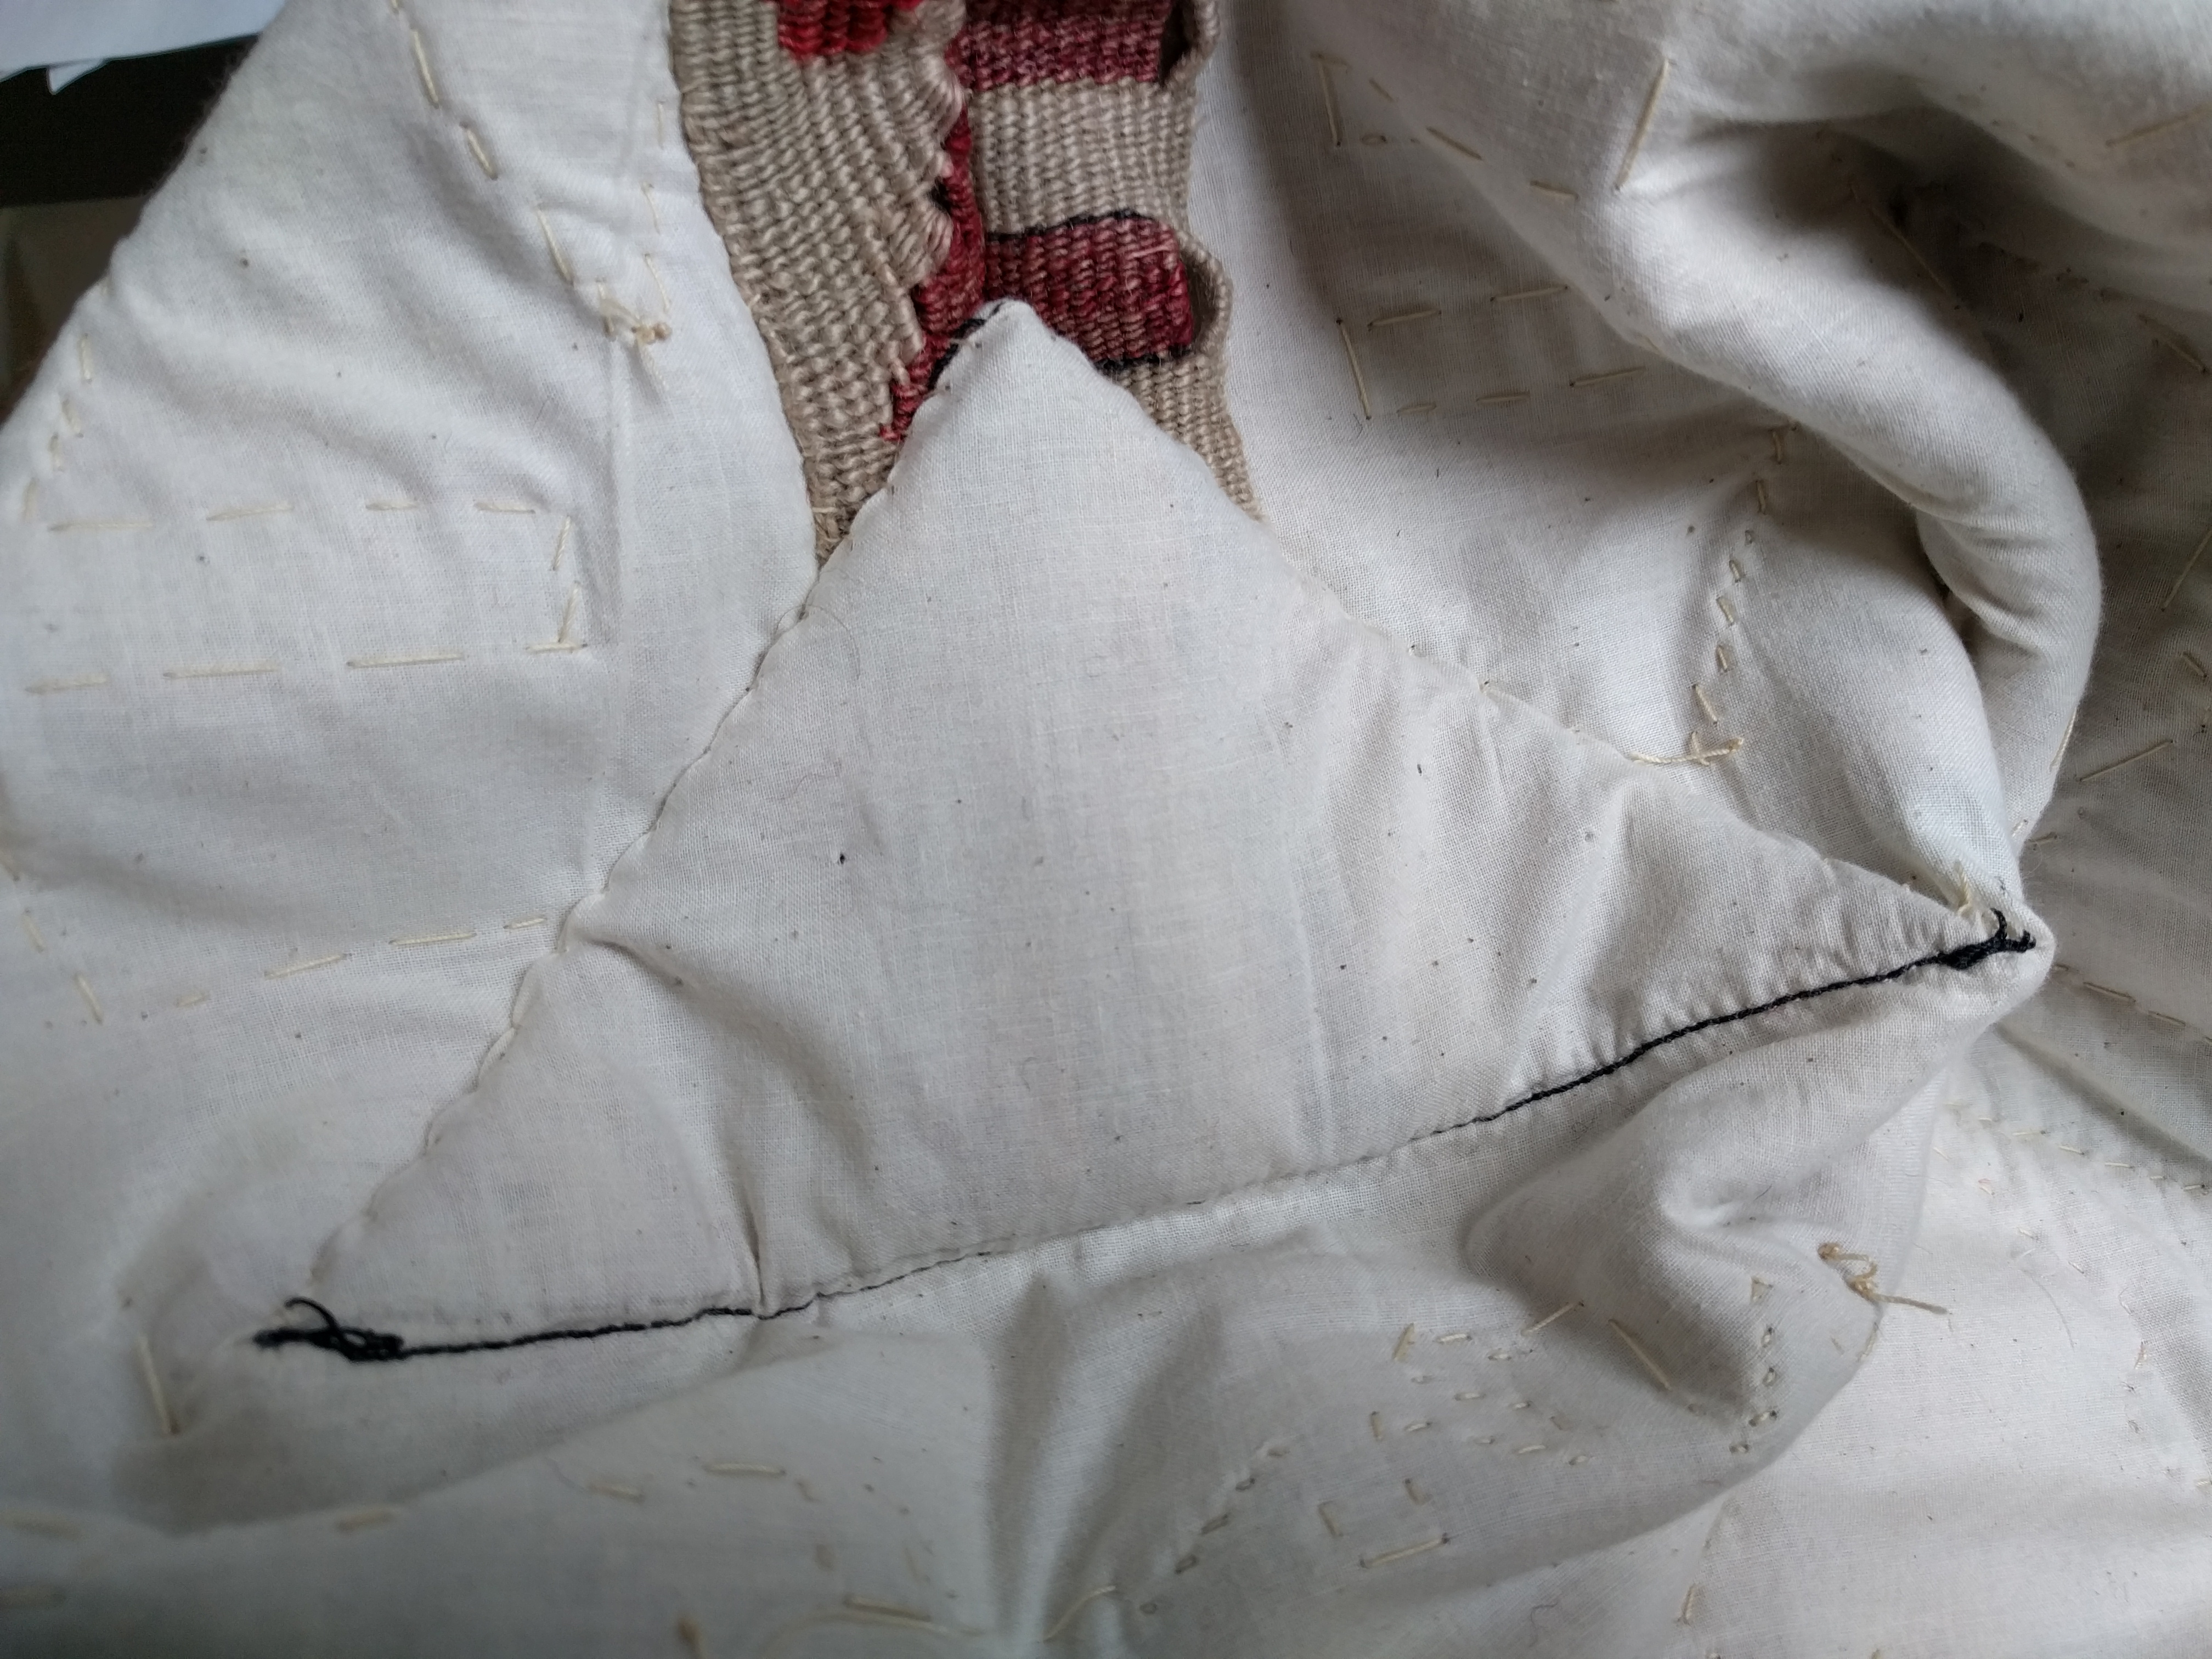
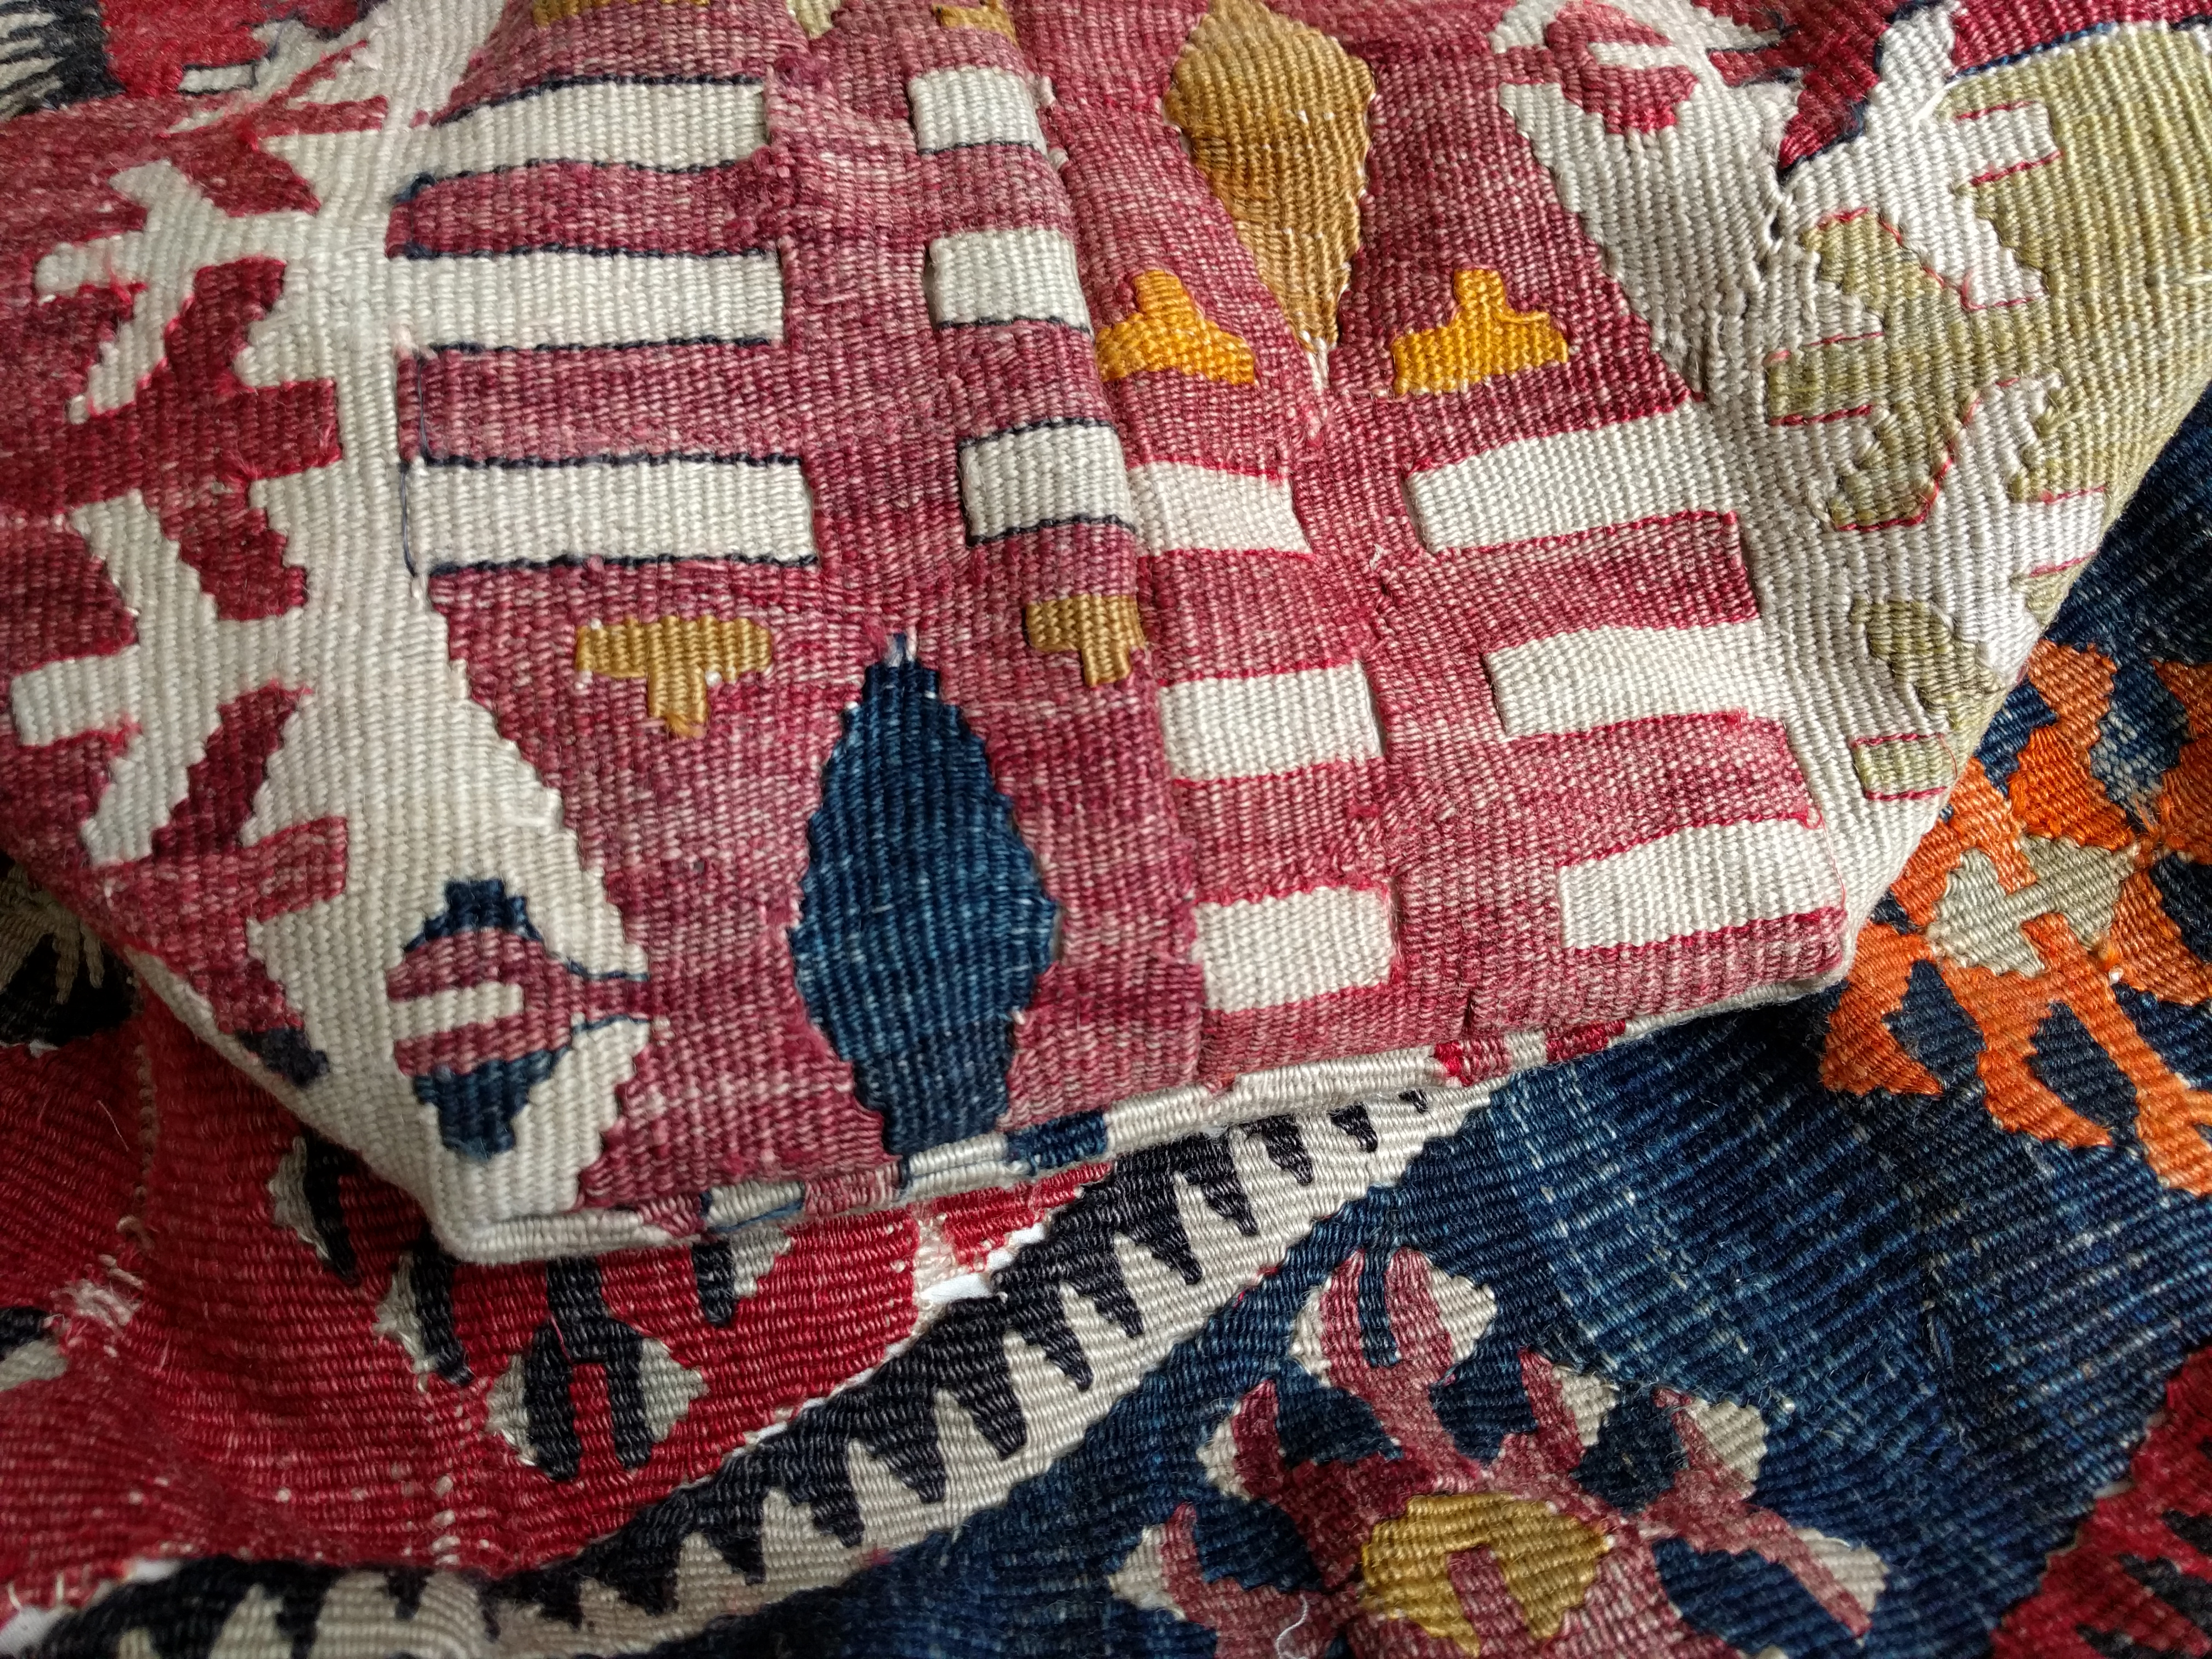
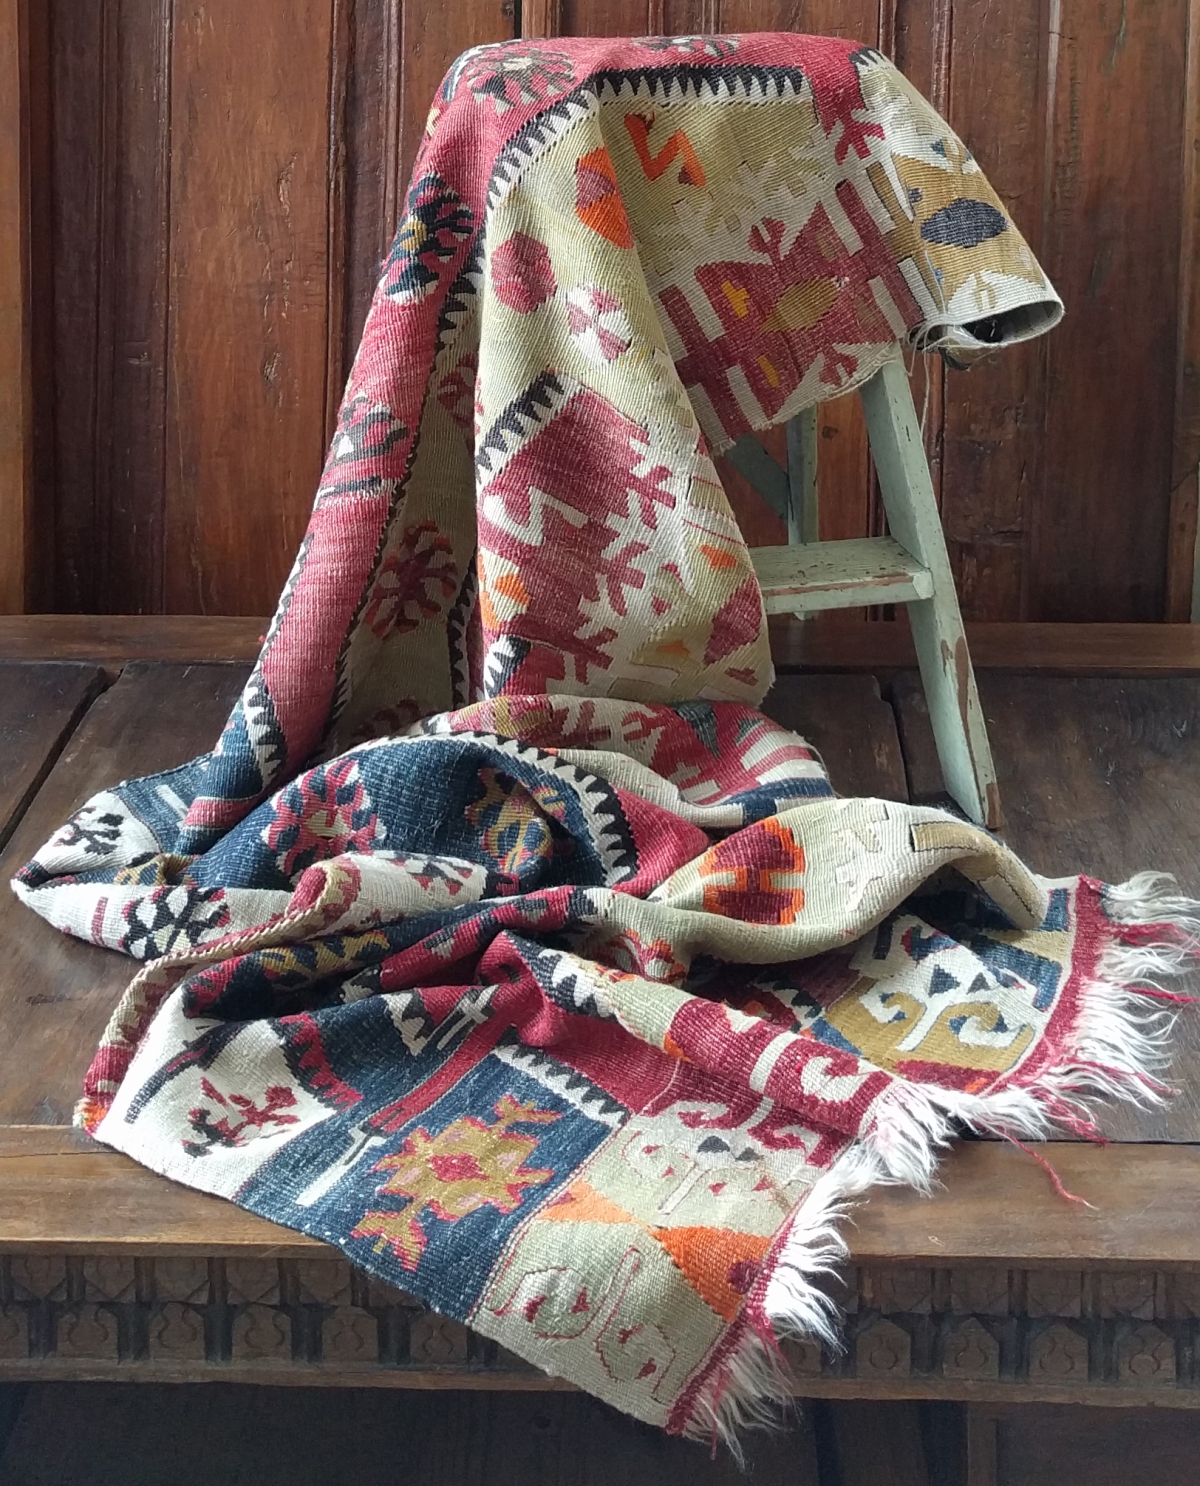
I am not really standing like a man here, more like a dancer about to dance a male character. My toes are up in a dance move. My hands are tense with fingers spread in a dance move. This posture looks like I’m about to raise my arms into the stance of a strong character, like I’m gathering the energy to become a powerful figure. My teacher taught me to start the development of a male character at my feet, gather energy there first, then pull that energy up my body and fill the stance with power and intensity.

About the textile:

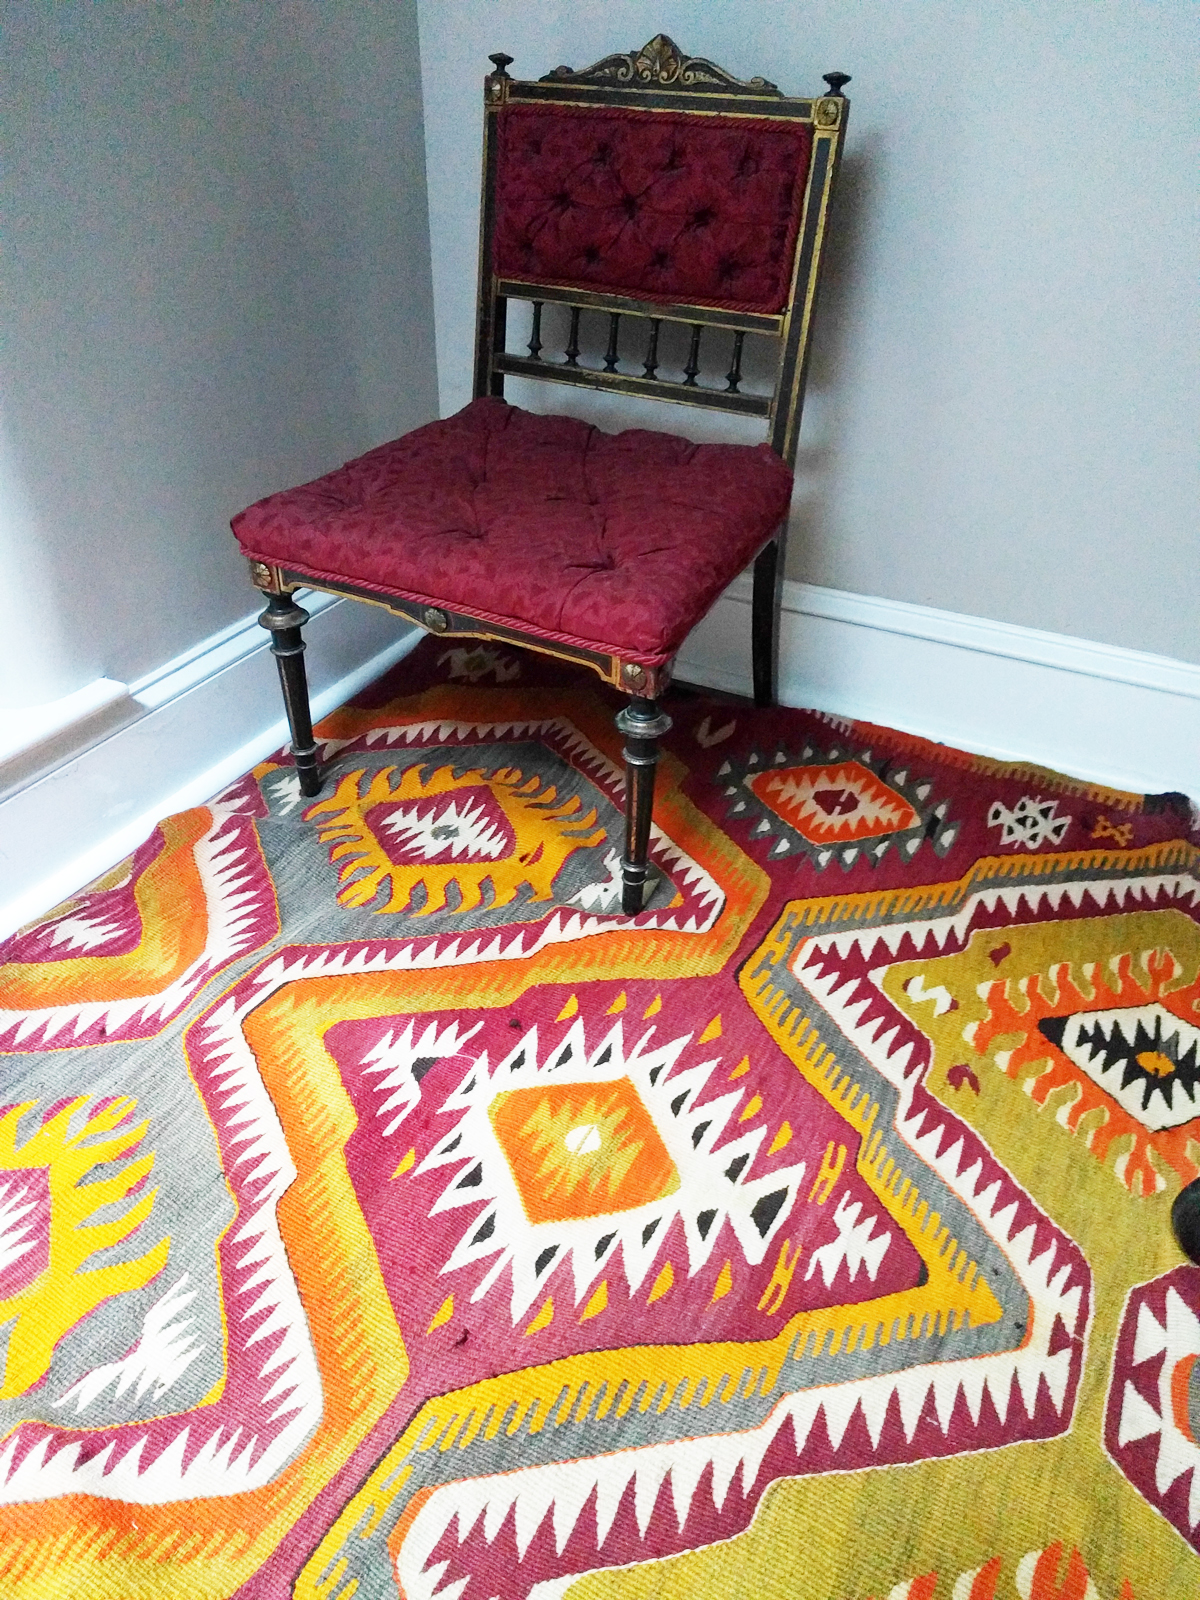
Before I left for the photoshoot I sewed the two pieces of a Songket Alam sarong together. Balinese Songket are hand-woven in two lengths the width of the loom and less than the 2 meters you would typically get with a batik sarong; because Songket are fine, you don’t get excess length the way you do in other fabrics that are less precious. Prior to the photoshoot, I had never worn any of my Songket Alam textiles as a sarong.  Songket Alam (alam means natural) are a modern style of hand-woven, supplementary-weft textile in which the motifs are created by colored cotton or silk instead of the gold or silver threads of traditional Songket, which were luxurious fabrics reserved for nobles and royalty. In supplementary-weft textiles, generally, the threads that make up the design are described as ‘floating’ on top of the base fabric; they are ornamental, integral to the visual design, but not structural. If you cut all of them off you would still have a length of cloth. I was told that what makes Songket Alam ‘natural’ is a combination of natural and commercial dyes so that once the cloth is woven and washed, the natural dyes run and combine while the commercial dye stays bright. The result is often a muted palette with splashes of color that can be extremely beautiful. For awhile, this style of weaving was the latest trend in luxury sarongs. It has been supplanted since but it’s still my favorite.


[1] The “C” is always pronounced like a “ch” in English.  Candra is pronounced Chandra. Cempaka is pronounced Chempaka, and so on.  I use the Indonesian spelling throughout.

[2] Sky is male. Anything that involves climbing trees or scaling heights is men’s work because of this association. Women do not climb trees.

[3] The main tasks of Balinese mortuary are to return the body and soul to its original forms and locations. The two souls must be separated from the physical body. The eternal soul – atma  – is returned to the undifferentiated divine from which it was borrowed. The personal soul – jiwa – is coaxed out of the body so that it may be prepared for return; a Balinese understanding of reincarnation entails the personal soul returning within the family rather than returning in some other higher or lower form of living creature unrelated to the deceased. The persuasion and shepherding of these souls to their proper places is performed by a Pedanda Siwa. At the same time, another priest, a Pedanda Buda, works to take the body apart through mantras and mudras while the family and community of the deceased do this work physically, taking the corpse through a series of rituals that return the elements of the body to their origins – earth to earth through interment, fire to fire and air to air through cremation. Ether I’m not sure about. And water to water through taking the body to the ocean in the form of ash and submerging it there. If the family can’t take the ash to the ocean, they take it to the river. Around each of these tasks are elaborate and beautiful preparation that are more or less elaborate depending on status and wealth: special offerings of meat and botanical elements; gorgeous textiles; proxy bodies made in various materials – sandalwood plaques, Chinese coins, botanical elements; inscribed shrouds; gold ornaments; gamelan music; cremation towers, sarcophagi in different animal shapes depending on caste and clan; and more I’m forgetting or don’t know about.

[4] I have done this – sifted through the ash to find the bones of the deceased – for the wife of the priest who was a relative to one of my teachers. I had been at the bathing of her corpse, observed her adorned with botanicals and bound in white cloth, her body stored under an inscribed shroud (tumpeng salu) while the complex offerings for her cremation (pengawak and tetukon) were assembled. I walked to the river with her grandchildren and her sister in law (who was a female priest) who carried a clay pot in which the liquid of the decaying body was collected, turned ritually into holy water and used to mark the third eye of each of us before it was emptied into the river. There was hardly anything there; corpses are now semi-preserved with formalin to spare the family the stench of death while they wait to purify the body with fire and the house with the smoke of incense and holy water. I have done this intimate work alongside the deceased’s adult children. This is work we must do for our parents; they brought our bodies here, our tangible materiality borrowed from the world around and our intangible essence lent by the divine. In turn, we shepherd their bodies and souls back to their origins. We return the immortal soul to the undifferentiated god stuff from which it comes, release the individual soul from the specific body (making it available to return), and restore the five elements of which the body is made: fire returns to fire; water returns to water; earth returns to earth; air returns to air; space returns to space. 

I have done this for someone else’s parents and I will not be able to do it for mine.

[5] Turtles all the way down is a reference to an indigenous concept of the world resting atop a turtle. Sometimes this turtle foundation is not just one turtle, but layers upon layers of turtles. Turtles all the way down, then, is a way of talking about a fundamental reality; there is no end to it.

Embracing Failure: the Magic Carpet Bag’s Challenge to Think Creatively

I have been confronted by a problem that has stymied me and delayed the next installment in the Magic Carpet Bag tutorial as I have been trying to figure out what to do. I finished stabilizing the textile with the muslin interlining. Following that process I stitched buckram into the bag to give it body and stiffness.

cutting the buckram to size
Cutting the buckram to size for the bag body

When I first started, it looked like it would work brilliantly. I had pinned the buckram to the inside of the bag with safety pins, same as the muslin.

Image 2 - putting the bag over a box and pinning the buckram to the bag body
Placing the carpet bag body, inside out, on a box and then safety pinning the entire layer of buckram to the bag body (excepting the bag bottom).

image 3 - pinng
Pinning on the box ensured that I connected the buckram to the bag body with twisting or distortion.

The bag stood up on its own. Fabulous! This was the precise behavior I was going for. I then attached the buckram to the textile with long basting stitches so that the buckram and the textile would act as one piece of material in the same manner as the muslin.

image 4 - securing the edges at the side seam
Basting stitches at the side seam to secure the edge of the buckram.


image 6 - catching 1 weft thread on the outside so the basting stictches are invisible on the exterior
The basting stitches are long on the interior of the bag and catch only 1 weft thread on the front of the bag so they are invisible.

zig zag baste
Basting in a zig zag covers more ground with one row of stitches.

As I worked on the bag in this way I found that the buckram softened up and became more supple. When I finished, the bag no longer stood up on its own. It just slumped.

slump 1
The Magic Carpet Slump

I have been trying to figure out what to do about the bag’s slumping ever since inserting the buckram in order to write the next steps in the tutorial. Then a serendipitous conversation happened and a colleague to whom I was describing this dilemma asked – why not share the challenge you have encountered?

It had not occurred to me to narrate the problem. I am working through this tutorial on the hoof. You are getting my process almost in real time, and that process includes this disruption in my expectations for how the Carpet Bag would work. This disruption has raised a whole series of questions for me. My first response was to think about the bag’s behavior as my failure: my approach to stiffening didn’t work. I obviously used the wrong material. What do I do now? Because I didn’t have ready answers, the Carpet Bag has languished in a soft slump.

But I can tell myself a different story about the Carpet Bag and ask different questions. When the young people I work with in my studio encounter a new task demanding new skills, they have the tendency to say – “I’m no good at that. I always mess things up.” I have forbidden this script in my studio and substituted an alternative script. Instead of “I’m no good at that.” I have instructed them to say “Wow, that is a technique I have never done before. Instead of “I’m no good at that.” I have offered the alternative script “I’m looking forward to building that skill.” They won’t actually say it despite my coaxing. They’re too cool for that. But I have seen a change in attitude that I think indicates they have internalized the message that never having done something before does not constitute bad skill. It just indicates no skill yet. It indicates an exciting journey not yet begun.

I now realized that, in response to my Magic Carpet Bag’s very unmagical slumping, I have been guilty of the “I’m no good at that” mindset I have tried to exorcise from my young students’ thinking. Instead, I am now choosing to see the Carpet Bag’s slump as an opportunity to think more expansively about what I expect from this bag and to respond to its characteristics in creative ways. Rather than view the bag’s behavior as my failure, I can view the bag’s behavior as an invitation to find success in an unanticipated guise. What am I going to do now? This becomes not a defeating question but an exciting one. How do I approach this design opportunity? What are my options? Which of them will I pursue?

slump 3

As I have begun to change my thinking, I realize that the potential next steps I have rolled around in my mind as I have looked at the Magic Carpet Slump on a daily basis are all still assuming that I am grappling with the bag’s bad behavior which I have viewed as representing my failure. In this view, slumping is bad; I need to rectify the slump with a better stiffener approach – plastic mesh, another type of synthetic, non-woven stiffener, a stiff haircell leather lining, a stiff canvas lining, boning at the side seams, cardboard in the bag bottom, etc.

But what if I decide slumping is not bad? What if I decide that a soft bag is an excellent bag? What if I surrender to the characteristics of this particular textile, which is not stiff but rather heavy with beautiful drape. Upon reflection, I suspect stiffness in this bag would elude me without extreme interventions. It would get heavier and heavier as I added material to combat its resistance. It could easily become a Sisyphusean task that no one wants to live through by way of a tutorial, and I wouldn’t want to be the one to try to execute tasks the bag wouldn’t cooperate with. I don’t want to set myself up to give up. Our projects have to match us, our temperaments, our styles of learning and work.  A Sisyphusean Magic Slump does not match me.

slump 4
The buckram, which is visible inside the bag, has given it more body and strength, but no stiffness.

I began my Magic Carpet Bag project loving the social story of household use we can discern and imagine in the textile’s damage, celebrating its handmade-ness, preserving it. I carefully married the weaving to its interlining weft thread by weft thread. Adding the buckram gave it more body and strength, but not the stiffness I sought, and there my acceptance and excitement faltered.

If I choose to accept the Slump’s slump and to see its heavy drape, like it’s damage, as its beauty rather than its deficit, the next step in this tutorial is a combination of two things – discernment and order of operations. I’ll save order of operations for the next tutorial and just tackle discernment here. What I mean by discernment is charting the next steps in alignment with the project’s acknowledged characteristics. What does it want to be and do, and how do I work with that as I make the next series of necessary choices – lining material, closure type, handle treatment? Given what the bag wants to be and do, what is my range of options for making it mine?

Each of you, whether you are working with a handmade textile, a felted or fulled bag body, or some other found or handmade fabric out of which you have begun your Magic Carpet Bag, will need to recognize how your bag is behaving and figure out what materials and processes will work with that behavior. If you have a stiff fabric, you won’t necessarily need or want a stiff material for a lining but you may.  Figure it out using visualization – imagining the bag in use, on your body, in your space – and simulation – by pinning different lining fabrics into your bag body and observing how the materials behave together and whether that behavior supports your vision. If you have a soft fabric, a stiffer lining will give it a bit more body and strength while a soft lining will retain the sensuality and hand-feel of the bag body. If your material is heavy like mine, stiffening may prove more trouble than it’s worth. If your material has alot of drape, that you really love, then choose a lining with drape rather than body so the drape of the finished bag retains the characteristics you enjoy so much.

As for my Magic Carpet Bag, I’m going to take another stab at stiffener but reserve it for the bag bottom, the most vulnerable part of the textile. The buckram I put into the bag body I have not yet extended to the bag bottom.  I plan to try 2 or 3 layers.  I don’t expect this to give it stiffness, but rather a bit of shape and greater strength.  I have also decided to try out a lining of some tightly woven, thick, unbleached canvas I have in the studio. It’s not stiff but it’s also not soft. It’s somewhere in the middle. It will not make the bag stand up. The bag will still slump. But it will be strong enough to withstand puncture by pencils or knitting needles and will not herniate in the existing areas of damage when the bag is full.

buckram on the sides only
You can see that the buckram I put on the bag was only wide enough for the sides of the bag. The bag bottom still needs help.

What else do I already know? I will use a zipper as a closure and I plan on using two 16 inch Forager flat strap handles in the middle of the bag, one on each side of the bag opening.  And I will use a Sling flat strap handle with tabs at the two ends of the bag.

sling handle with tabs
Here is the Sling Handle with Tabs that I want to put on the two ends of the bag at the side seams.  Because the tabs straddle the side seam, I can achieve a centered handle.

In what order will I do these steps?

Next post – order of operations.

Like this post? Pin it!

Embracing Failure: The Magic Carpet Bag's Challenge to Think Creatively - hand sewing a bag inspired by a kilim rug on the JUL Designs blog

Hunting Inspiration for New Designs in Andalusia, Spain: Traveling With My Son on the Eve of Becoming an Empty-nester

I was in southern Spain with my son Julian for 10 days, starting on the 16th of August.  My son is now 20 and I have just delivered him to the California College of the Arts.  We got off the plane from Spain on the evening of the 26th and got back on a plane for California early on the 27th. With the help of a friend living in California, I moved Julian into his housing that afternoon and now I am an empty-nester.  As a single mother for the entirety of his life, this represents a significant adjustment. I have no idea yet what the texture of that adjustment will be like. As a result of the timing, this trip with Julian to Spain has taken on a significance I am sure you can empathize with, even if you are not facing or have not faced this particular life-change.

Julian photographing Alcazar

Image above: Julian photographing the ornamentation on a door in Alcazar in Seville, Spain.

The purpose of the trip was originally just business – to hunt inspiration for new JUL designs, both knitwear jewelry and accessories as well as the new line of body jewelry I am now developing.  I had to change the dates of the trip from April to August in order to participate in 10,000 Small Businesses.  I invited Julian to accompany me as a way to mark his departure from my home and his entry into a new phase of his life.  As Julian is an amazing young designer, (headed off to study Industrial Design), working with him on a new jewelry collection (or collections), based on Moorish architecture and ornamentation in southern Spain, was a perfect collaboration – a project we could work on together, the product(s) of which will be artifacts of this special time.

You will see them in the coming year.

Here are some examples of the shapes and motifs we encountered and which will be our inspiration and source material as we develop designs together.

Mezquita small file arches upon arches small file

Image above: Mezquita in Cordoba, Spain.

My son and I became fascinated by the Mezquita in Cordoba for several reasons.  The building is massive, built on a site that had seen other religious structures for centuries. The exterior of the building is simple, high stone walls with massive reinforced doors.  It looks like a fortification. The interior is astonishing.  The columns and arches you see above just seem to recede to the horizon, creating a sense of magnificent, awe-inspiring infinity.

The columns that you see, which at first appear uniform, are varied in material and form, the cornices sometimes corinthian, based on the curving, elegant lobed leaves of the Acanthus plant. But some of the cornices are much simpler, depicting very different carvings and motifs. This variation impressed upon us the history of cultural and religious transformations that happened on this spot, and the ancient salvaging and repurposing that happened each time there was a change.  Why not use what was already there to create your own very different statement about the shape of the cosmos and the relationship between humans and the divine?

Mezquita churchy dome

Image above: Mezquita in Cordoba, Spain.

Much of the ceiling in the Mosque were flat, carved and painted wood.  By contrast, some parts of the ceiling opened up into astonishing and exquisitely ornate domes upon domes that are breath-taking. This combination of arches with areas of flat and carved and painted wooden panels making up the ceiling was dramatic and fascinating.

Mezquita with gold details small file

Image above: Mezquita in Cordoba, Spain.

The repurposing and transformation in ideas about the universe is so gloriously represented in the combination of Islamic and Christian shapes and designs in the Mezquita’s interior.  How surprising and spectacular that inside the Mosque, Catholics built a church!

IMG_20170820_154758

Image above: One of the Christian areas that made up the church within the Mezquita in Cordoba, Spain.

Mezquita carved door detail small file

Image above: Mezquita in Cordoba, Spain.

Here you see carved motifs based on the Acanthus leaf, a form that recurs in Roman, Islamic, and Christian ornament over and over.  The Acanthus plant is one of those plants that has an unusual range of powerful uses for early peoples and so it shows up again and again in recognition of its potency as well as the beauty of its form.

Alcazar big wall and doorways small file

Image above: Alcazar in Seville, Spain.

The Alcazar in Seville is absolutely stunning and was the first of these Moorish buildings that Julian and I visited.  The scale is smaller than the Mezquita as it was a residence.  Its carvings are elaborately painted as they were at the time when the palace was built.  In this way the experience of the space is very different from that of the Palace of the Nazaries in the Alhambra complex in Granada where the carvings are without color.  While the Palace of the Nazaries allows you to see the naked motifs clearly, the Alcazar offers a different kind of impression and visual power – inspiring with the ornamental carving, the exquisite combinations of one color and another, and color in relation to the ornaments it adorns.  I just wept at its beauty and I wept at the fact that I had the precious opportunity to experience such a place with my son.

Alcazar colored doorway small file

Image above: Alcazar in Seville, Spain.

Alcazar doorway detail small file

Image above: Alcazar in Seville, Spain.

The gorgeousness of these spaces is amazing and becomes even more so when you abstract the ornament using frames – as in a camera or cellphone – that isolate particular relationships between the ornamentation and architectural form.  What we isolate in the frame is closer to the way we focus our eyes on specific juxtapositions we find fascinating and beautiful. And these juxtapositions are far more complex and varied, and personal, than the vistas in the photo book of the place.

I discovered on this trip how similar my son’s ‘eye’ is to mine. We frequently chose the same juxtapositions to photograph, though one or the other of us might execute it better.

How gratifying is that, to see your values and all of the lessons in being a person and viewing the world through a lens of art and design emerge, distinct and personalized, in your child after 20 years of eldering and asking “where does your eye go?”

Anti-selfie Selfie

Image above: Julian’s and my anti-selfie selfie at Medina Al Zahara, Cordoba, Spain: we are not blocking the view of the monument!

IMG_20170825_122541

Image above: Julian and me at Medina Al Zahara, Cordoba, Spain.  We just can’t seem to produce a conventional selfie no matter how hard we try!  Here Julian caught me rubbing my eyes.  I find it funny that it looks like I am covering my eyes so as not to see something.  So not the case!

And we have not yet gotten to the Alhambra part of the journey . . .

Like this post? Pin it!

Hunting Inspiration for New Designs in Andalusia, Span with JUL Designs


Making Your Magic Carpet Bag . . .

This is the first of several installments that take you through the steps of making a magic carpet bag out of an old textile.  The ingredients list below assumes you are using a textile but the same steps are applicable to a wide range of other fabrics and materials.  Your ingredients list will change with your chosen bag material.

Old textile

Muslin (for interlining)

Buckram (for reinforcement / structure)

Lining material

Thick sewing thread – buttonhole twist or quilting thread

Chenille Needle

Safety pins

Zipper with double sliders

JUL Forager 16 inch screw-in leather handles – 1 pair

JUL 36 inch sling handle with screw-in tabs – 1 handle

6-8 half round bag feet in nickel

Dimensions – Cutting the Material

The finished dimensions and cutting instructions offered here are for the pictured bag.  I started with the native width of the material as I don’t like to cut hand-woven fabrics any more than I have to.  The only cut I made was to establish the length of the material, which in turn determined the height of the bag and the depth of the bag bottom.

Carpet Bag fabric: 32 inches wide x 44 inches long.  Interlining fabric should be cut to the same dimensions as it will be sewn together with the bag body fabric.


Finished dimensions for my structured Magic Carpet bag will be approximately 29 inches wide at the bag opening, 18 inches high and 8 inches deep. Finished dimensions for an unstructured bag will be 29 inches wide at the bag opening, 22 inches high on each bag face and 18 inches high at the side seam with an 8-inch wide perpendicular bag bottom.

IMG_20170810_180718
Width of the bag measured at the bag opening after the bag has been sewn up

IMG_20170810_180629
Height of each bag face – 22 inches – measured from the bag opening to the widthwise fold. Depth of the bag – 8 inches – measured with a centering rule at the perpendicular seam.

Making the Bag Body

Please Note: If you are using an alternative material and want to machine-stitch an interlining fabric to your bag fabric, you will need to do that step prior to sewing up the bag.  If you are hand-stitching your interlining to an antique textile, you will want to sew up the bag first.

Fold the material in half widthwise together with your interlining fabric and put right sides together with the fold at the bottom (the interlining will be visible on the outside as you sew up the bag but will move to the inside of the bag when you turn the bag right side out). The textile edges parallel to the fold will be the bag opening and will not be sewn together.  The other textile edges, perpendicular to the fold on the right and left sides, will become the sides of the bag. Leave a generous seam allowance (1 – 1.5 inches) and sew up the two sides.

To create the bag bottom, after sewing up the sides (working on the wrong side), open the bag up, putting the side seam face up and centered. Create a triangular point at the tip of each side seam as in the photograph.  Find where the width of the ‘base’ of your triangle measures 8 inches (or another width if you are doing custom dimensions) and mark a line perpendicular to the side seam.  Sew at your mark.  If you are using an antique textile, I suggest you not cut the triangular excess off as you may wish to preserve the possibility of taking the bag apart at a later time. Makers using other materials will likely choose to cut off the triangle of excess.  Make sure to tack and finish your stitching lines so they remain stable.

Turn your bag body right side out.

IMG_20170810_180402

Interlining

The textile I am using is very heavy and floppy and has damaged areas.  Without reinforcement and strengthening, these areas of damage would continue to deteriorate. By wedding an interlining to my textile, I create a stable fabric as much of the stress of use will be on the interlining, not on the textile itself. You can see where I have hand-stitched along the textile’s woven patterns.  With each stitch I have wrapped my sewing thread around a single warp thread.  When my sewing thread is pulled snug, it disappears amidst the weft threads of the textile.

I wanted my stitches to be invisible, but if you are interested in creating a secondary pattern of stitching lines, you can do a running stitch on top of the textile either by hand or by machine like that used in quilting.  Please note: Machine stitching should be done prior to sewing up the bag body.

The relationship of outside and inside material changed when you created the bag body. That is, the inside material now has to be slightly smaller and curve to accommodate the shape of the textile that forms the exterior. The following technique persuades the two materials to behave as one as you are working to stitch them together. Working on the right side of the material (interlining on the inside) and starting from the center of the bag bottom, start to pin the textile and the interlining together using safety pins. Working up each side, place your safety pins equi-distant every 6-8 inches until you have pinned the entire bag body.


IMG_20170811_122819
Textile and interlining pinned together with safety pins.

You may develop a different technique for doing the stitching to connect the textile to the interlining.  This is how I do it.  With the bag right side out, I put my left hand inside the bag and work on top of the textile.  I pass my needle over a warp thread, down under the interlining material, back up on the other side of the warp thread, repeat. In sum, I catch the warp threads in between where the colors meet in the tapestry weaving process, which is similar to intarsia knitting.

IMG_20170810_180142
Hand-stitching used to marry the textile to the muslin interlining.

You can see this process in action in my Instagram post of August 8: @jul_designs. In the stitching on the interlining, therefore, you can see the shapes of the ornaments.  In the image below you can see that this results in a virtually invisible stabilization.

IMG_20170810_180812
Area of damage stabilized by invisible stitches connecting the textile to the stabilizing interlining.

Once the entire bag has been stabilized in this manner, the interlining fabric is tucked under the textile at the side seams and the edges of the textile are tacked down.

IMG_20170811_121701

Then the triangle of excess material at the base of the side seam on both sides is also tacked down neatly, creating a crisp shape at the sides of the bag bottom.

IMG_20170811_122204

IMG_20170811_122241

At this point, your textile material has been fully integrated with your interlining and you are ready to move on to the next steps of structuring, adding closures or a zipper, lining and bagfeet, and adding handles, all of which I will address in the next several Magic Carpet posts.  In the meantime, if you are starting to work on your own Magic Carpet Bag, you will have time to get these steps completed before the next instructional post.

FOR FULLED AND FELTED BAGS:

The sewing instructions above offer some interesting creative possibilities for you to try new things with your fulled and felted pieces.  Stitching together your exterior fabric with an interlining becomes a way to add surface interest and texture, especially if you make your stitches visible and/or use them to create an intaglio or light-relief effect.

Just a few fulled bag patterns that represent fantastic canvases for the handle and finishing techniques we will be getting to in the coming posts are as follows:

Noni – Metropolitan Bag

Metro front picture
No matter what scale of bag you are interested in, the Metropolitan Bag pattern gives you options for beautiful foundational shapes that are perfect for experiments in ornamentation.

Noni – Harmony Bag

putting hair up
Noni Harmony Bag becomes a beautiful canvas for exciting finishing with easy-to-attach JUL Screw-in leather handles.

Noni – Adventure Bag

Noni – Bedouin Bag

Noni – A Week in Venice Satchel

Debbie Bliss – Felted Bag

Lucia Tedesco – Knitting Basket

Marilyn King – Fulled Afghan Carpet Bag

Like this post? Pin it!

MagicCarpetBagTutorial.jpg

Making a Magic Carpet (Bag)

I promised on my Instagram (@jul_designs) that I would begin a series of posts with video instructions on how to make a carpet bag. This post is a prelude, the back-story.

Though my example carpet bag will be sewn together, I will be providing resources for those of you who don’t sew and prefer to work in other media – knitted and fulled, felted, crocheted, quilted – who want the easy finishing and style of our JUL screw-in leather handles made right here in the USA in our Studio in Catonsville, Maryland.

In this first post, I want to tell you why my demonstration piece is a flat weave indigenous textile. I think it’s a story worth telling because it lets you know why it’s not a knitted/fulled bag – of which I have made many when I was working with my sister and knitwear designer Noni – and it lets you know why I chose this particular medium even though it entails some special challenges. Why I’m not knitting this bag is a very short story: I have arthritis and can no longer knit. Why I’m sewing the bag out of an antique textile is a longer story:

My most important and prized possession as a kid was a flat weave rug – a kilim. I don’t know where it was made – perhaps Turkey. Below is a picture of the rug in my home today. This is the story of how it came to be mine.

actual kilim

I must have been about 16. I was in the car with my mother and we saw a guy by the side of the road selling rugs. My mother had a kilim and several other oriental rugs that we both loved and so of course we stopped. I picked out the most vibrant and largest of the rugs and my mother bought it as a gift for me. It was only $150 because the guy who sold it to us was watching the rugs for a friend named Angel who hadn’t told him anything about how the rugs should be priced. We knew we were getting something wonderful for virtually nothing. My mother later said we should have bought them all.

Throughout middle school and high school I wanted to be an artist. I drew all the time. One of the things I drew was the rugs.  I drew them over and over.  Some of these drawings are lost. I have no idea what happened to them. But I still have a few, including two etchings I did. This etching is of the kilim rug my mother had (right) and a Swedish blanket (left) that I still have.

first kilim etching

I would pile up the wooden dining room chairs on top of my bed and arrange the rugs over them to get draped forms. The ways the patterns changed and swooped when draped fascinated me. The rugs felt alive, dynamic.

Below is my second rug etching, this one of my rug.  I turned the form upside down to create a disoriented feeling of suspension and called it “Dragons and Fire in my Carpet.” Can you see the modification I made to the pattern?

second kilim etching

This third image is a drawing, rather than an etching.  Here I have all of the textiles together: my mother’s (right), mine (center), and the Swedish blanket returns (left).kilim drawing

The next is in colored pencil and graphite and was near the end of the series. This drawing is twice as big as the others, as you can see from the fact that it’s on two pieces of paper.

I left parts of the pattern as line-drawing without shading/color. I was trying to push the sense of distortion that is already part of the design, the edges of the diamond motif woven so they appear to ripple even before they are draped over a pile of chairs. You will notice that same sneaky modification to the pattern in this one. I remember now that those modifications felt like a gesture toward self-portraiture. By the time I finished this series I felt like the rugs protected me and mine hung on my wall for years as I moved from place to place. Only recently has it gone on the floor, in part of the bedroom where it is rarely stepped on, and only in bare feet.

color kilim drawing

This final image is the rug from which I am making the carpet bag. By draping it over a ladder, I’m evoking the series of drawings I made in high school but also revealing to you the infrastructure that creates the draped form. I would be inclined to call this something like: Portrait of a Turkish Carpet with Madurese Door and Step Ladder.

rug over the ladder.jpg

All of the items in this image have a social life that preceded my encounters with them. The step ladder is old and I’m not sure where it came from, someone in the family, maybe grandparents. And the carved wooden door was part of a house in Madura, an island off the eastern coast of Java in Indonesia. The windows are at home but the door is too tall to live in my house so it has to live at the studio.

The rug had a history before it ever came to me, as evidenced by damage and wear in the fibers, fading in the color. This means that part of the task of making it into a bag is stabilizing it, repairing it in ways that don’t cover up the evidence of its past lives, but instead preserve the detail of the damage. To me, what emerges in the patterns of wear and weakness is beautiful, the vestiges of social life somewhere else – living in another time and space.